
Check this out!
Pickled Garlic Cloves
I don’t know about you, but I LOVE cooking with garlic! For the most part, many of my meals start with a garlic, onion, and olive oil base. There are many health benefits to using garlic in your meals and the biggest starts with your heart health. Garlic has been shown to reduce cholesterol and is also an antioxidant. Another wonderful healthy benefit to consuming garlic is the allicin in garlic is also a powerful antibiotic, which fights infection and bacteria.
I am always looking for ways to incorporate a new twist of flavor – and pickled garlic is a great way to incorporate whole garlic cloves into your meal preparation and pickled array of snacks.
Pickled Garlic Cloves Canning Recipe
Makes about 5 half-pints
Add delicious pickled garlic cloves to your pasta whole or mash the cloves to create a paste to be spread over a baguette or sandwich bread. Pickled garlic cloves make an excellent starter for sauces and soups, and for those of you who love a spicy Bloody Mary, plunk a couple of these bad boys in your glass and let the flavors explode!
Ingredients
- 2 ½ cups white vinegar
- 1 cup dry white wine – I use Twisted Pinot Grigio from California but any brand will do
- 1 tablespoon pickling or canning salt
- 1 tablespoon granulated sugar
- 1 1/2 tablespoons dried oregano
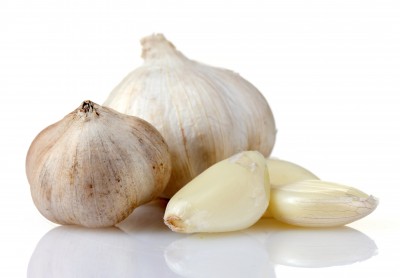
- 15 – 20 large garlic heads, separated and peeled (5 cups)
- 5 dried California chili peppers (essentially dried Anaheim peppers)
 Instructions
- As usual, prepare all of your jars ahead of time and have your lids and rings setting in boiled water. Be sure jars are setting in hot water as this method of jar filling is via hot packing.
- Garlic Prep: When I create this recipe I typically double it, so a quick tip for removing so many garlic skins is to blanch your cloves. Remove the garlic from the base of the bulb so that each skinned clove is separated. With skins on, blanch the cloves in boiling water for 1 minute being sure to stir so each clove is thoroughly wet. Remove the cloves using a large slotted spoon and place in ice cold water. Drain. To peel, hold the clove and pairing knife in hand, using your thumb and knife, cut the base of the clove and pull skin towards you.
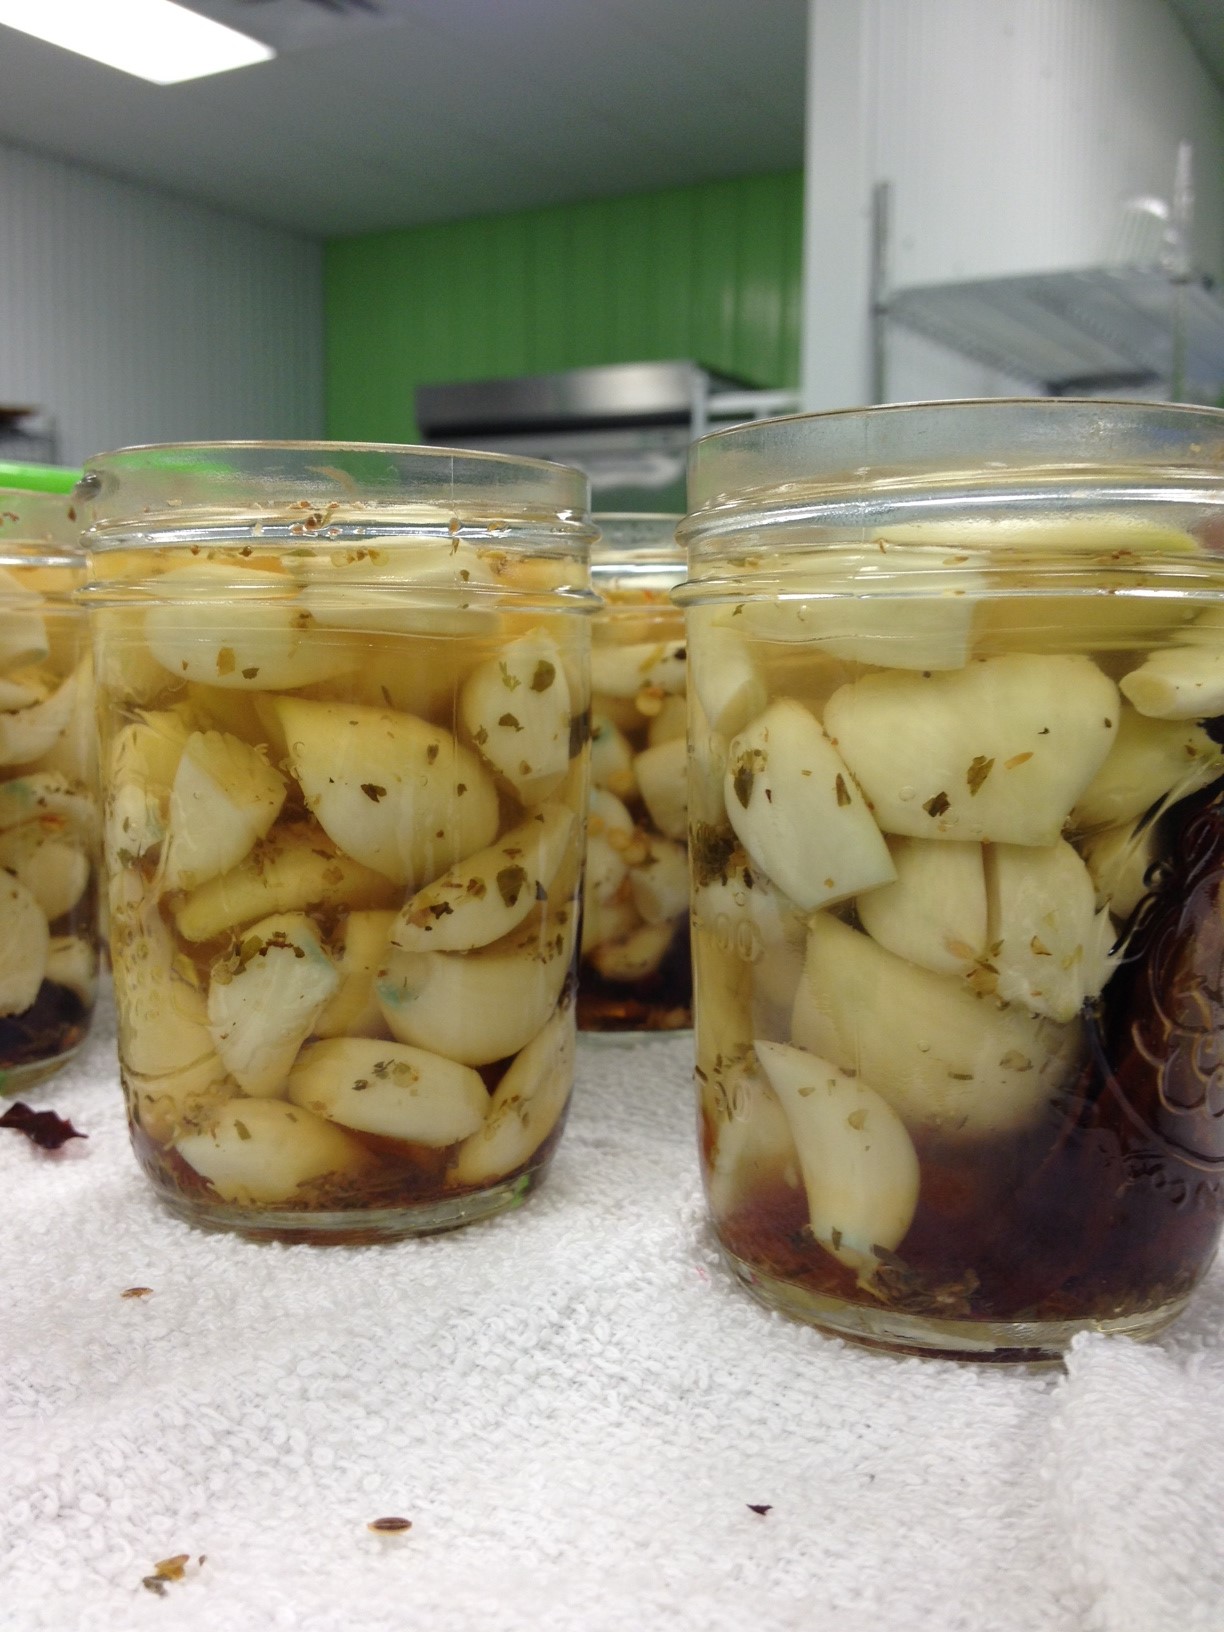
- In a large stainless steel stock pot, combine vinegar, wine, sugar, oregano and salt. Bring to a boil, stirring to dissolve the sugar and salt. Reduce heat and let boil gently for 1 minute. Set a timer, do not guess. Add whole garlic cloves and cook for one additional minute.
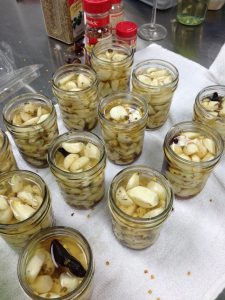
- Place one chili pepper in each jar. Break a piece off to fit inside each jar being sure to keep the proper 1/2-inch headspace.
- Using a slotted spoon, pack the hot garlic cloves into each jar filling to 3/4-inch headspace. Next, ladle the hot brine into each jar, leaving a 1/-inch headspace. Remove any trapped air pockets and add additional brine if necessary to maintain the 1/2-inch headspace.
- Using a warm wash cloth dipped in vinegar, wipe each rim and screw bands. Because of the seasonings, be sure to wipe the inner part of the jar rim to avoid seasonings rising up onto the jar rim during processing. Place lids and rings on each jar and hand tighten.
- Place jars in water bather and cover with warm/hot water. Process half-pint jars for 10 minutes. Remember, processing time doesn’t begin until the water is at a full rolling boil.
FOOD PREP TIP:
You may also purchase pre-peeled garlic! Christopher Ranch in California grows non-GMO heirloom garlic. They sell their garlic by the clove or pre-peeled! I purchased their pre-peeled garlic in 3 pound bags and save myself hours of prep time.
Happy Canning!
xo
Diane, The Canning Diva®
www.canningdiva.com