Check this out!
I love a good pickled pepper! Whether I am adding them as a pizza topping or dicing a few and adding them to my mile-high nachos, their amazing flavor truly heightens any dish. Many of us love using pickled banana peppers when making a Mississippi Pot Roast which naturally helps tenderize the beef and gives this dish its unique flavor profile.
I sometimes use affiliate links in my content. This will not cost you anything but it helps me offset my costs to keep creating new canning recipes. Thank you for your support.
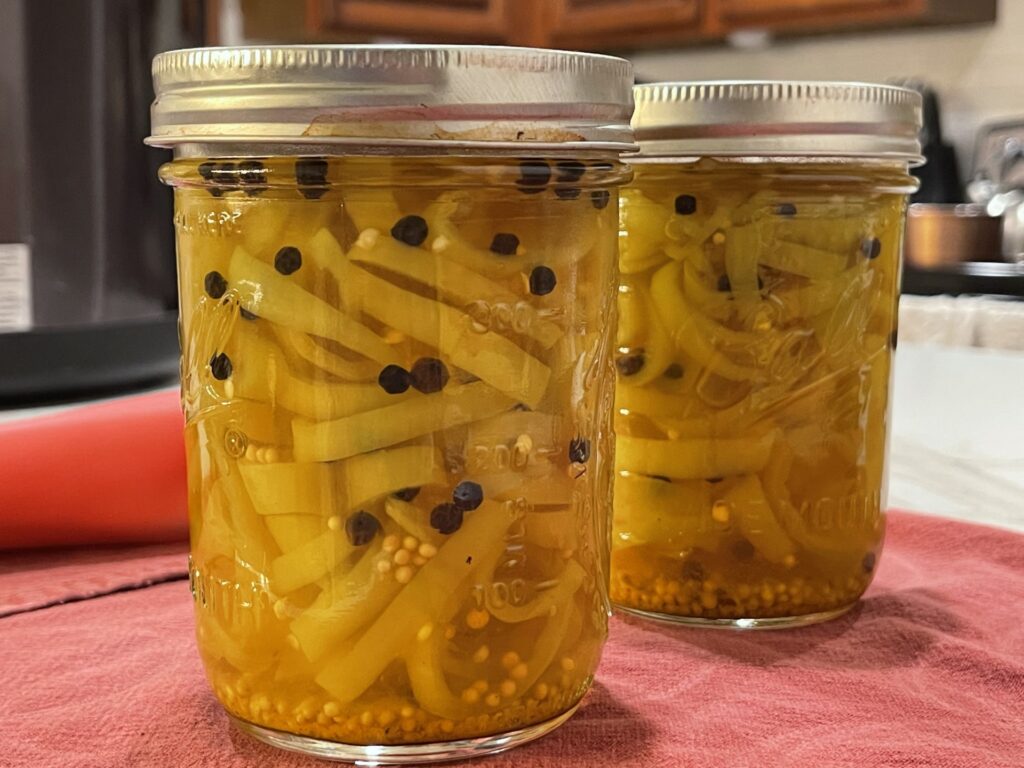
This canning season I spent some time perfecting the perfect pickled banana pepper recipe. I wanted to mimic the flavors I love by playing with a variety of spices and seasonings. Ironically, keeping it simple worked out best! In addition to amazing flavor, I wanted to ensure the banana peppers retained a “crunch” as opposed to becoming mush after processing in a water bath.
While banana peppers are the most popular sweet pepper, feel free to use any sweet pepper like pepperoncini, Hungarian Wax pepper, and even Anaheim peppers to create this amazing canning recipe. When we water bath this canning recipe for long-term storage, be sure to use a store-bought pickle crisp or alum.
For those of you who prefer a natural approach and wish not to use store-bought pickle crisp and alum in their canning recipes, you will need to add 1/2 cup pickling salt to the brine, and place to 2-3 grape leaves at the bottom of every pint jar to achieve the same result.
Pickled Banana Peppers Canning Recipe
Makes approx. 7 pints
This versatile pickled pepper can be used just as any store-bought pepper. Add it to pizzas, nachos and tacos, create delicious roast beef, or simply pop in your mouth when you’re feeling like a pickled treat. These are also delicious on an Italian sub sandwich or can be added to kabob skewers on the grill. The possibilities are endless so feel free to get creative!

Ingredients
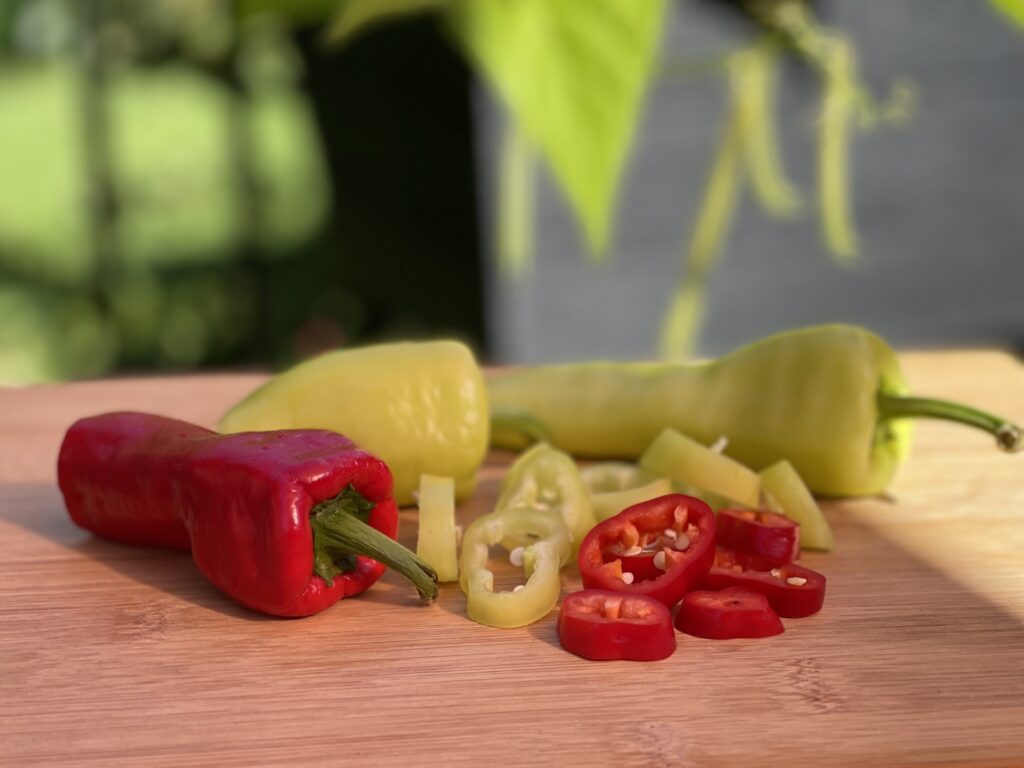
- 30 to 40 banana peppers, sliced into round rings
- 4 cups white vinegar
- 2 cups water
- 1 cup light brown sugar, packed
Per Pint Jar:
- 1/2 teaspoon black peppercorns
- 1/2 teaspoon mustard seeds
- 1/8 teaspoon ground turmeric
- 1/8 teaspoon pickle crisp granules
- 1/4 teaspoon alum, if using
Instructions
- In a deep saucepan, add the vinegar, water, and brown sugar and bring to a boil, stirring often to dissolve the sugar. After sugar has dissolved, reduce heat to warm. (If you are not using pickle crisp granules and powdered alum in this recipe, you will need to use 1/2 cup pickling salt when making the brine. Add the salt when adding the brown sugar.)
- Add the peppercorns, mustard seeds, turmeric, pickle crisp granules, and alum if using, to each pint jar. Then raw pack the pepper rings tightly into each jar leaving a 1/2-inch of headspace. (If you are not using the pickle crisp granules and alum, you will add 2-3 grape leaves to each pint jar, then add the seasonings and pepper rings.)
- Using a funnel, ladle the pickling brine into each jar filling to 1/2-inch of headspace. Gently press the pepper rings down using your headspace measuring tool to express any trapped air pockets, then add additional brine if necessary to maintain the 1/2-inch headspace.
- Wipe your jar rims with a washcloth dipped in vinegar. Add the lids and rings and hand tighten.
- Place jars in a water bather and fully cover with water. Place the lid on the water bather and bring to a boil. Water bath pints for 10 minutes. Remember not to start your timer until the water is at a full rolling boil.

Happy Canning!
xo
Diane, The Canning Diva®
www.canningdiva.com

