Check this out!
Home Canning Corn
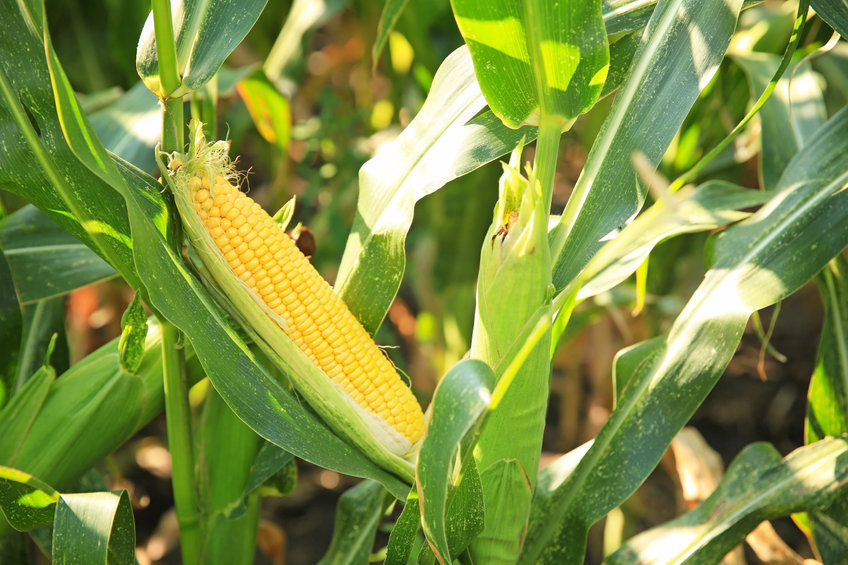
Those of us who love to garden will often grow several rows of sweet corn to enjoy late-summer. Whether you make it a point to grow bushels of ears of corn or simply wish to have a bit on hand for family gatherings, learning to pressure can corn is the best way to enjoy its deliciousness in the winter months.
(I sometimes use affiliate links in my content. This will not cost you anything but it helps me offset my costs to keep creating new canning recipes. Thank you for your support.)
Let’s start with shucking the corn…
More often than not, the step of shucking the corn is what prevents people from canning it. Why? Because without simple and quick tips, it is a daunting task to chuck over 30 ears of corn in one sitting. So, here are some fun tips to make things so much easier.
- Alpa shows a simple trick to removing the husk and pesky silk from the corn cob making quick work of a bushel of corn. Click here to watch the video.
- The Domestic Geek has a simple and inexpensive way to shuck corn using a serrated bread knife and a Bundt pan. Click here to watch her video.
- Kevin Robinson uses a drill and a kitchen corn stripper utensil to make quick work of removing the corn kernels off the cob. Click here to watch the video.

Home canning corn is easy and a better alternative to salt-laden aluminum cans at the grocery store. No matter if you grow corn or purchase it fresh from a local farm or grocer, you will need about 32 pounds of ears of sweet corn to yield 7 quarts of corn kernels. If you wish to preserve in pints; an average of 20 pounds is needed per canner load of 9 pints.
For those of you who freeze your corn kernels and need to free up space in your freezer, you may safely and confidently thaw and preserve your corn kernels in jars using a pressure canner. You may also use your frozen corn kernels in any canning recipe!
Lastly, there are two methods you may use to pack the jars with corn kernels for pressure canning.
The two methods of filling canning jars
- Raw Pack: Pack corn kernels into jars filling to 2-inch headspace. Then ladle water overtop the kernels, filling to 1-inch headspace.
- Hot Pack: Place corn kernels in a stock pot and cover with water. Bring to a boil and simmer for 5 minutes. Using a slotted spoon, pack jars with corn kernels filling to 2-inch headspace, then ladle with the hot cooking water, filling to 1-inch headspace.
Below are the instructions for home canning corn…
Home Canning Corn Kernels Instructions
Makes approx. 7 quarts or 14 pints
Having home canned corn kernels in your panty is a delight – and offers more than just a side dish! Use your home canned corn to create a delicious batch of corn chowder or corn bread, make a fresh batch of corn salad with cilantro, and tomatoes or use it when making chili or stews.
Ingredients
- 32 ears of corn (About 32 pounds of fresh corn on the cob)
- Water
- Salt (optional and for flavor only)
Instructions
- Shuck the corn to remove the husk and silk. Next, remove the corn kernels from the corn cob.
- Depending on if you are raw packing or hot packing, follow the instructions listed above to prepare your corn and fill your jars. Keep in mind, hot water means your jars need to be hot. If you are raw packing with cool water, jars may be cool and so must your canner water.
- If using salt add 1 teaspoon to every quart and 1/2 teaspoon to every pint jar.
- Wipe each jar rim with a warm washcloth dipped in vinegar. Add lids and rings, and hand tighten.
- Place jars in the pressure canner. Use a second flat rack if you choose to double-stack your pint jars. Process at 10psi or according to your elevation and canner type; process pints for 55 minutes and quarts for 85 minutes.
Happy Canning!
Diane, The Canning Diva®
www.canningdiva.com