
Check this out!
Dry Packing New Potatoes Canning Recipe
Dry packing new potatoes is one of the best ways to preserve their creamy, earthy flavor long after harvest. Unlike traditional canning methods where liquid is added to the jar, this pressure canning technique allows the potatoes to release their own natural moisture during processing, creating steam inside the jar that locks in flavor and texture. New potatoes are especially well-suited for dry packing because of their tender skins and higher moisture content. Whether you’re looking to extend your garden harvest, build long-term food storage, or simply enjoy quick dinner solutions straight from your pantry, this dry pack potato recipe is a must-try for every home canner.
I sometimes use affiliate links in my content. This will not cost you anything but it helps me offset my costs to keep creating new canning recipes. Thank you for your support.
By Diane Devereaux | The Canning Diva®
Last updated: July 31, 2025
Key Takeaways
- New potatoes don’t store well fresh, making dry packing the ideal preservation method.
- No liquid is added — the potatoes release their own steam during processing.
- Perfect for quick meals — roasted, mashed, or added to soups straight from the jar.
What Are New Potatoes?
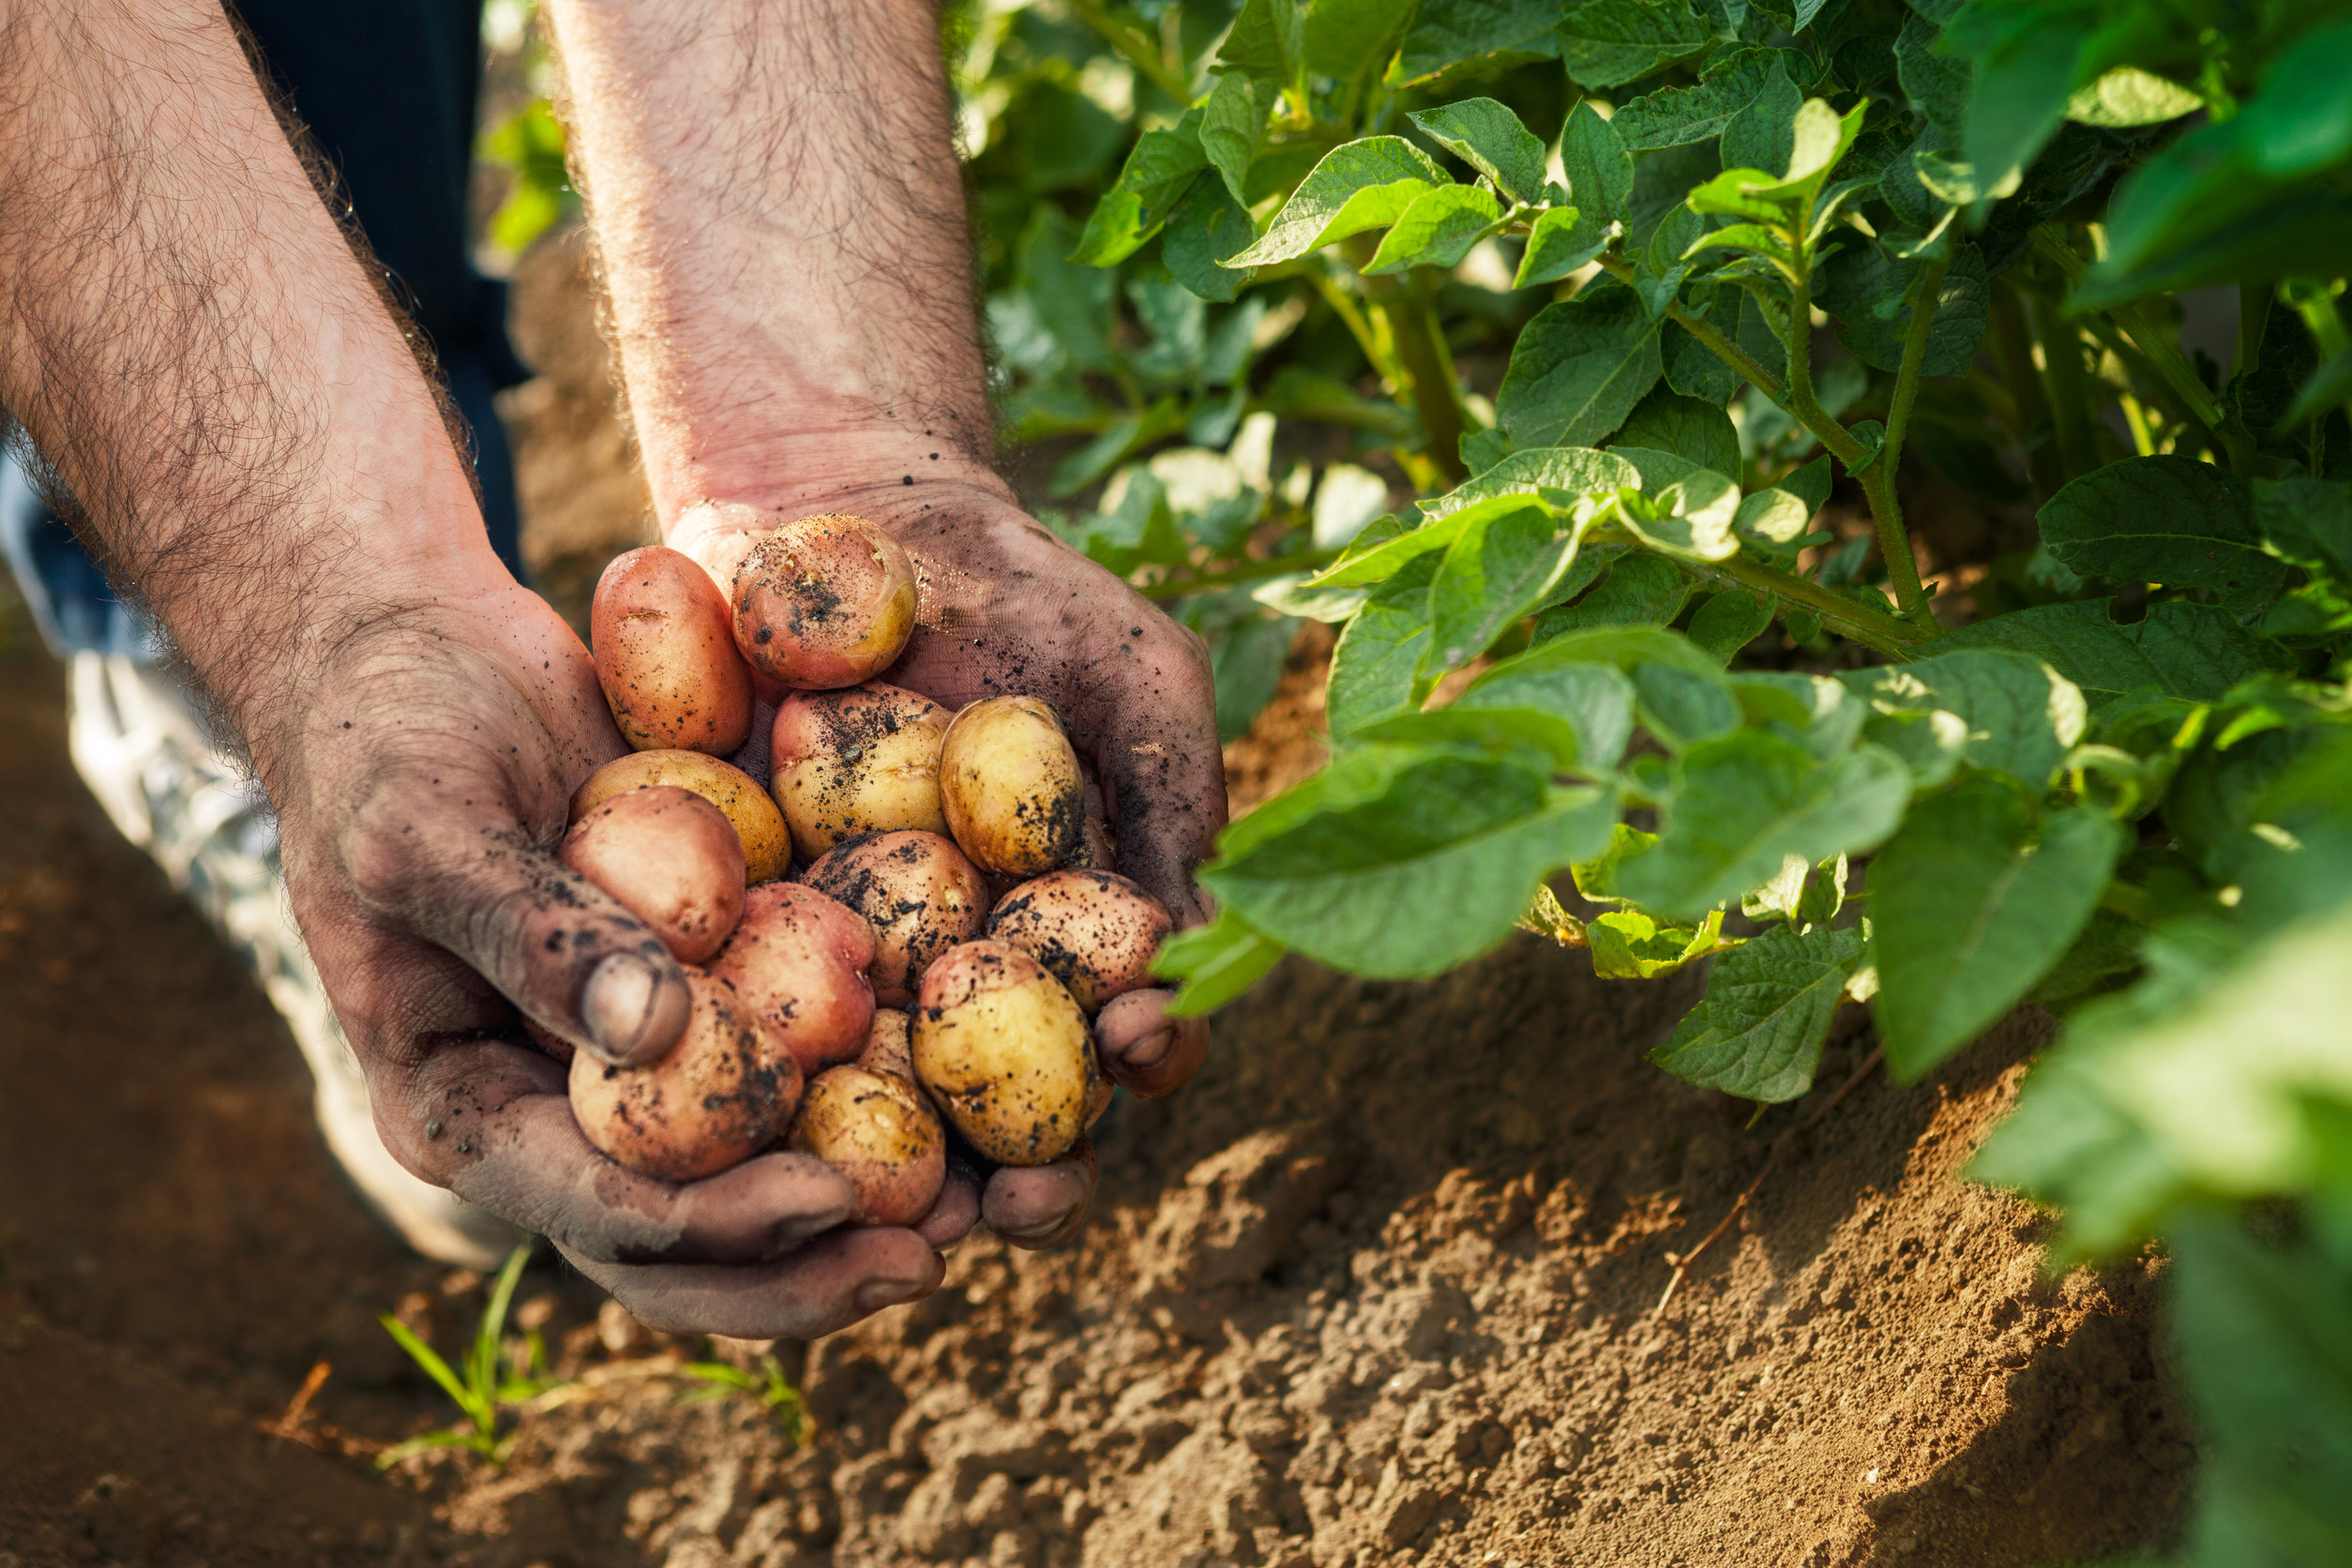
Few garden harvests are as satisfying as digging up fresh new potatoes. These tender, thin-skinned tubers are a true delight for home growers and a sign that the growing season is in full swing. They are creamy, earthy, and subtly sweet and they lend themselves beautifully to a variety of preservation methods, including dry packing. If you’ve grown new potatoes this season and are eager to enjoy them year-round, dry packing in a pressure canner might be just the method you’re looking for to preserve them long-term.
A “new” potato are simply immature potatoes harvested before they reach full size have delicate skins that haven’t hardened and cured. New potatoes are typically harvested while the plant is still green and growing, often about two to three weeks after flowering. Their skins can be easily rubbed off with your thumb, and they are higher in moisture than mature potatoes. Because of their tenderness and higher sugar content, new potatoes don’t store as long as their mature counterparts — making home canning an ideal solution.
Nutritional Benefits of New Potatoes
New potatoes are small but mighty when it comes to nutrition. They are:
- Rich in Vitamin C, supporting immune health and skin vitality.
- A good source of potassium, helping maintain healthy blood pressure.
- Packed with fiber, especially if you leave the skin on, which supports digestion.
- Naturally low in calories and fat, making them a wholesome addition to your pantry staples.
The thin skins of new potatoes mean you’ll benefit from their nutrients whether you leave the skins on or gently peel them for preservation. Keep in mind that most of the vitamins sit just beneath the skin, so many canners prefer to peel as little as possible.

The Joy of Growing New Potatoes
Growing your own new potatoes connects you to the rhythm of the season in a way few other crops can. There’s something magical about watching potato plants flower, knowing the treasure hiding beneath the soil. Whether you grow them in raised beds, traditional rows, or containers, new potatoes reward your efforts with a satisfying harvest in midsummer. Their versatility in the kitchen — from buttery boiled sides to crispy roasted medallions — makes them well worth the garden space.
Dry Packing New Potatoes: The Basics
Dry packing is a method of pressure canning where the potatoes are packed into jars without liquid. During processing, the potatoes release their own moisture, creating steam inside the jar. This method offers a few advantages: it preserves the natural texture of the potato, minimizes jar siphoning, and allows the potatoes to act almost like mini steamers in the jar. This internal steam helps achieve higher internal temperatures, supporting bacterial kill while preserving that classic creamy texture.
For more information on what dry packing truly means in home canning and to cancel out some of the noise on the internet, here is an article differentiating dry packing from dry canning. Learn more to avoid any confusion when home canning.
If you are looking for the traditional method of Dry Packing Potatoes, click here for more details and information. You may also enjoy recipes for drying packing a Vegetable Medley to use later in meal creation.
Should You Cure New Potatoes Before Dry Packing?
This is a great question, and one many gardeners ask as they transition from harvest to preservation. Because new potatoes are harvested young, they have not developed a thick skin suitable for long-term storage or curing. Curing is a process typically reserved for mature potatoes; it involves holding the tubers at warm temperatures with high humidity for about a week or two to toughen the skin and heal minor blemishes.
For dry packing new potatoes, curing is not necessary — nor recommended. Since you want to capture the tender quality of new potatoes, it’s best to process them soon after harvest. Here’s what I recommend:
- Harvest carefully to avoid bruising or damaging the delicate skins.
- Rinse gently to remove clinging soil. Because new potatoes have such thin skins, avoid aggressive scrubbing.
- Soak briefly (optional) — Some canners like to soak new potatoes for about 10 minutes in clean, cold water to loosen any remaining dirt and minimize starch leaching during canning. This step is optional, but if you do soak, do not exceed 10 minutes and drain them thoroughly afterward.
- Peel or leave skins on — This is personal preference. The USDA recommends peeling for canning, but many experienced canners leave thin skins on small new potatoes when dry packing.
- Pack into clean, hot jars — Leave appropriate headspace (usually 1 inch). Do not add liquid.
- Process in a pressure canner at 10 PSI or according to your elevation and canner type. Process quart jars for 40 minutes and pint jars for 35 minutes.
Jar Packing Options: Whole or Cut
One of the joys of working with new potatoes is their small, uniform size. When canning, especially with the dry pack method, you have the option to can new potatoes whole if they fit comfortably in your jars. Whole potatoes hold their shape well during processing and are ideal for roasting, skillet dishes, or stews straight from the jar.
If you’re working with slightly larger new potatoes, you can cut them into halves or uniform chunks, so they process evenly. The key is consistency in size to ensure proper heat penetration.
Tip: When packing whole new potatoes, choose tubers no larger than 2 inches in diameter for best results.

Enjoying Your Dry Packed New Potatoes
Once dry packed, your new potatoes are shelf-stable and ready to enjoy. Their texture makes them ideal for:
- Skillet breakfasts (slice and fry with onions and herbs)
- Quick soups and stews
- Roasting with olive oil and rosemary
- Mashing for an easy side dish
Simply open the jar, drain the liquid, and use as desired. The natural flavor of new potatoes shines through when preserved this way.
Dry Packing New Potatoes Canning Recipe
Dry packing new potatoes offers a beautiful way to preserve the unique flavor of your garden’s bounty. With a bit of care during harvest and preparation, you can enjoy that fresh-from-the-garden taste all year long. And remember, because new potatoes don’t store well fresh, canning is an excellent way to ensure none of your hard-earned harvest goes to waste.
Yield: 7 quarts or 14 pints
Ingredients
- 35 to 40 medium size new potatoes
- 4 ounces ghee or melted butter (or 1-2 ounces of olive oil)
- 7 teaspoons canning salt, optional
Instructions
- After harvesting, be sure to carefully clean the new potatoes is essential. Their tender skins bruise easily during handling, so you must remove all soil thoroughly before canning. If you prefer skinless potatoes, peel them before packing.
- You may leave the new potatoes whole or dice them to suite their intended use. If dicing, cut the potatoes into the size you wish to see on the end of your fork or use in recipes. If you are leaving them whole, choose tubers no larger than 2 inches in diameter to maximize your jar space properly.
- Place the cut potatoes into a large stock pot and cover with water. Let sit for one hour, then drain and rinse well in a colander. Using paper towel, or a clean canning dish towel, pat potatoes dry.
- Place dried potatoes in a clean bowl, cover with ghee or olive oil and toss to thoroughly coat. If using canning salt, sprinkle salt and toss to adequately disperse the salt throughout the diced potatoes.
- Using a canning funnel, pack jars tight with coated potatoes, filling to 1-inch headspace.
- Wipe your jar rim with a washcloth dipped in vinegar to remove any oil or ghee from the jar rim. Adhere lid and ring to each jar and hand tighten.
- Because you pack the jars cold with cold food, be sure to start your canner with cool water. I suggest placing your canner on low heat for 10 minutes to slowly warm the glass jars, then increase the burner to high and continue processing as normal.
- Process at 10 psi for weighted gauge, or 11 psi for dial gauge, or according to your elevation and canner type. Process quarts for 40 minutes and pints for 35 minutes.
If you’re ready to try dry packing your new potatoes, prepare your pressure canner and enjoy this fun and rewarding preservation method. Your pantry — and your future meals — will thank you!
Be sure to consider joining my private Facebook group, Canning, Dehydrating and Long-Term Food Storage and engage with members from all over the world who enjoy preserving food and love learning together.
Enjoying Your Dry Packed New Potatoes
These potatoes are pantry-ready for:
- Skillet breakfasts with onions and herbs.
- Quick soups and stews.
- Oven roasting with olive oil and rosemary.
- Easy mashing for side dishes.
Simply drain and prepare as desired — no peeling, no prep, just flavor.
People Often Ask
Q: What does dry packing potatoes mean in canning?
A: Dry packing means filling jars with raw potatoes without liquid. The potatoes release steam during pressure canning, creating their own cooking environment.
Q: Can you pressure can new potatoes without water?
A: Yes, new potatoes can be pressure canned safely without liquid. Their high moisture content makes them ideal for dry packing, producing shelf-stable jars.
Q: Do dry packed potatoes taste different than wet-packed potatoes?
A: Yes. Dry packed potatoes tend to have a firmer, creamier texture and retain their shape after processing, making them closer to freshly cooked potatoes. Whereas, potatoes packed in water tend to be much softer with a great deal of the meat and starch settling to the bottom of the jar during long-term storage.
About the Author:
Diane Devereaux, The Canning Diva®, is an internationally recognized food preservation expert, author, and educator with over 30 years of home canning experience. She’s the author of multiple top-selling canning books and teaches workshops across the U.S. Learn more at TheCanningDiva.com.