Check this out!
This recipe post has been a loooong time coming! But before I share the processes and various ingredients I personally used to create multiple batches of this dry packed potato recipe, I want to start by giving credit where credit is due. 
Ronald McGhghy, the pioneer and fellow member of the private Facebook Group, Canning Rebels, shared this amazing process with all of us back in 2019. Intrigued, I made several batches myself, tweaking the process and type of potato used, then had them laboratory tested. As I said, I merely took the baton and crossed the finish-line to show everyone, 1) leaving your skin on the potato is safe so long as you thoroughly scrub and rinse your potatoes prior to starting the recipe and 2) the dry pack canning method is safe and effective in home canning. Thank you Ronald!!
Dry Packing Method Explained
More often than not, canning recipes require canners to fully cover foods with a liquid prior to processing. Many believed doing so “helped the thermal process” which is a fancy way of say, it helped the heat penetrate through the food in jars. However, as most of us know, water slows the heating process providing a much gentler temperature than dry air temperatures, like those achieved in a residential oven.
So the misrepresentation by many that without water, the “heat won’t transfer” is actually backwards. Without the presence of water in the jar, the contents actually raise in temperature compared to those covered in water – especially with the addition of an oil or fat. This is why meat such as beef, chicken, turkey, and pork require no water in the canning jar to successfully process the foods. So why not attempt it with root crops, which after all, do contain water within their fibers and are more acidic than meat.
The method of Dry Packing is merely eliminating the instructional step of covering the food ingredient with water and raw packing the food dry to the required headspace. And yes, each jar is processed according to their respective PSI and length of time.
Dry Packed Potato Canning Recipe
Makes approx. 7 quarts or 14 pints
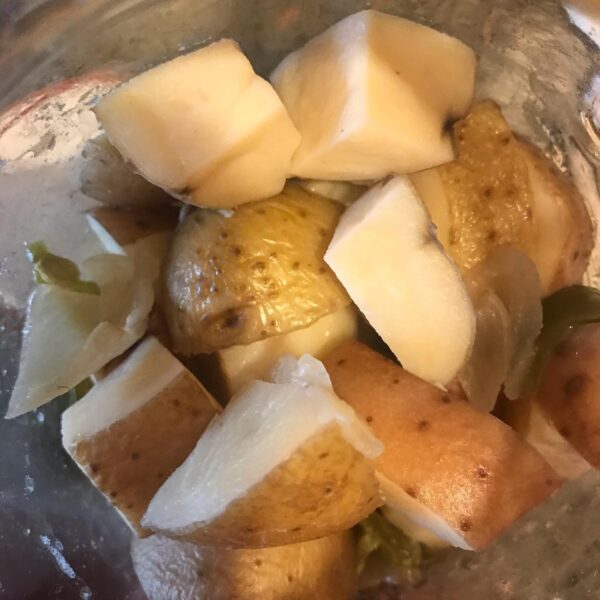
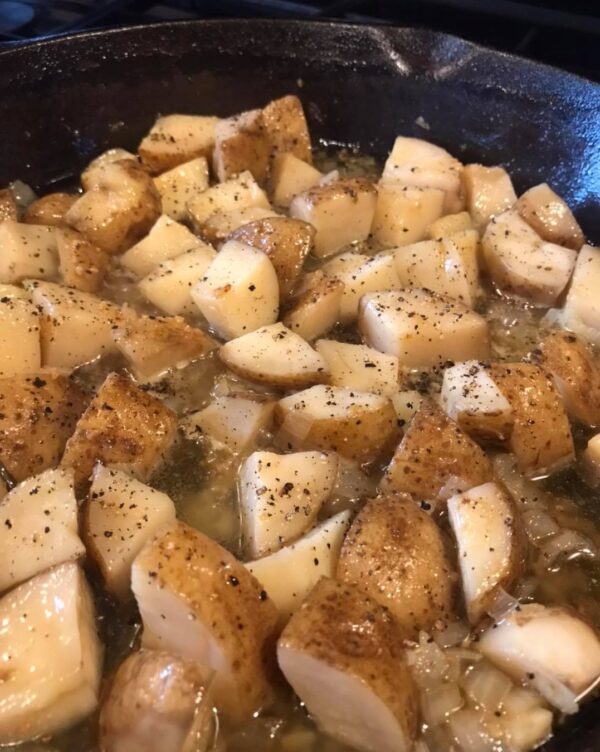
These make the BEST fried potatoes on the planet! Because they are not canned in water, the potatoes retain their shape and integrity, and can be used successfully in a variety of recipes like German potato salad, soups and casseroles. Feel free to slice, dice, make French fries or shred your potatoes.

This recipe is written for diced potatoes. If wishing to slice, make fries, approximately 28 medium potatoes are needed; if shredding, you will need approximately 70 medium potatoes.
Ingredients
- 35 medium size Russet, Red or Yellow Skin Potatoes
- 4 ounces ghee or melted butter
- 7 teaspoons canning salt, optional
Instructions
- Thoroughly scrub your potatoes with a vegetable brush under running water. It is okay if some of the skin scrubs off. The goal is to get the potatoes clean. Be sure to remove any dry rot, eyes or sprouts from the potatoes exterior. After scrubbing the entire potato well, rinse again in fresh running water.
- You may also peel your potatoes if you do not desire the skins be left on.
- Dice the potatoes into the size you wish to see on the end of your fork or used in recipes. I cut mine in 1-1/2 inch cubes for frying.
- Place the cut potatoes into a large stock pot and cover with water. Let sit for one hour, then drain and rinse well in a colander. If canning Russet potatoes, repeat this process to pull as much starch from the Russet potatoes as possible. Doing so helps them retain their fleshy color during storage.
- Using paper towel, or a clean canning dish towel, pat potatoes dry.
- Place dried potatoes in a clean bowl, cover with ghee or melted butter and toss to thoroughly coat. If using canning salt, sprinkle salt and toss to adequately disperse the salt throughout the diced potatoes.
- Using a canning funnel, pack jars tight with coated potatoes, filling to 1-inch headspace.
- Wipe your jar rim with a wash cloth dipped in vinegar to remove any oil from the ghee or butter. Adhere lid and ring to each jar and hand tighten.
- Because the jars are packed cold with cold food, be sure to start your canner with cool water. I suggest placing your canner on low heat for 10 minutes to slowly warm the glass jars, then continue onto processing.
- Process at 10 psi for weighted gauge, or 11 psi for dial gauge, or according to your elevation. Process quarts for 40 minutes and pints for 35 minutes.
Ingredient Tip:
Feel free to season your potatoes with black pepper, garlic powder, paprika or your favorite dried herb and seasoning blend! I suggest adding the seasoning when coating and tossing the potatoes with ghee, or melted butter, as mentioned in Step 5. This will help ensure the seasoning is well dispersed. You may also can without any seasoning and simply season upon frying or using in a recipe!
Be sure to join my private Facebook Group, Canning, Dehydrating, and Long-Term Food Storage and share in the joy of canning and preserving food with fellow members.
Happy Canning!
xo
Diane, The Canning Diva®
www.canningdiva.com


