Check this out!
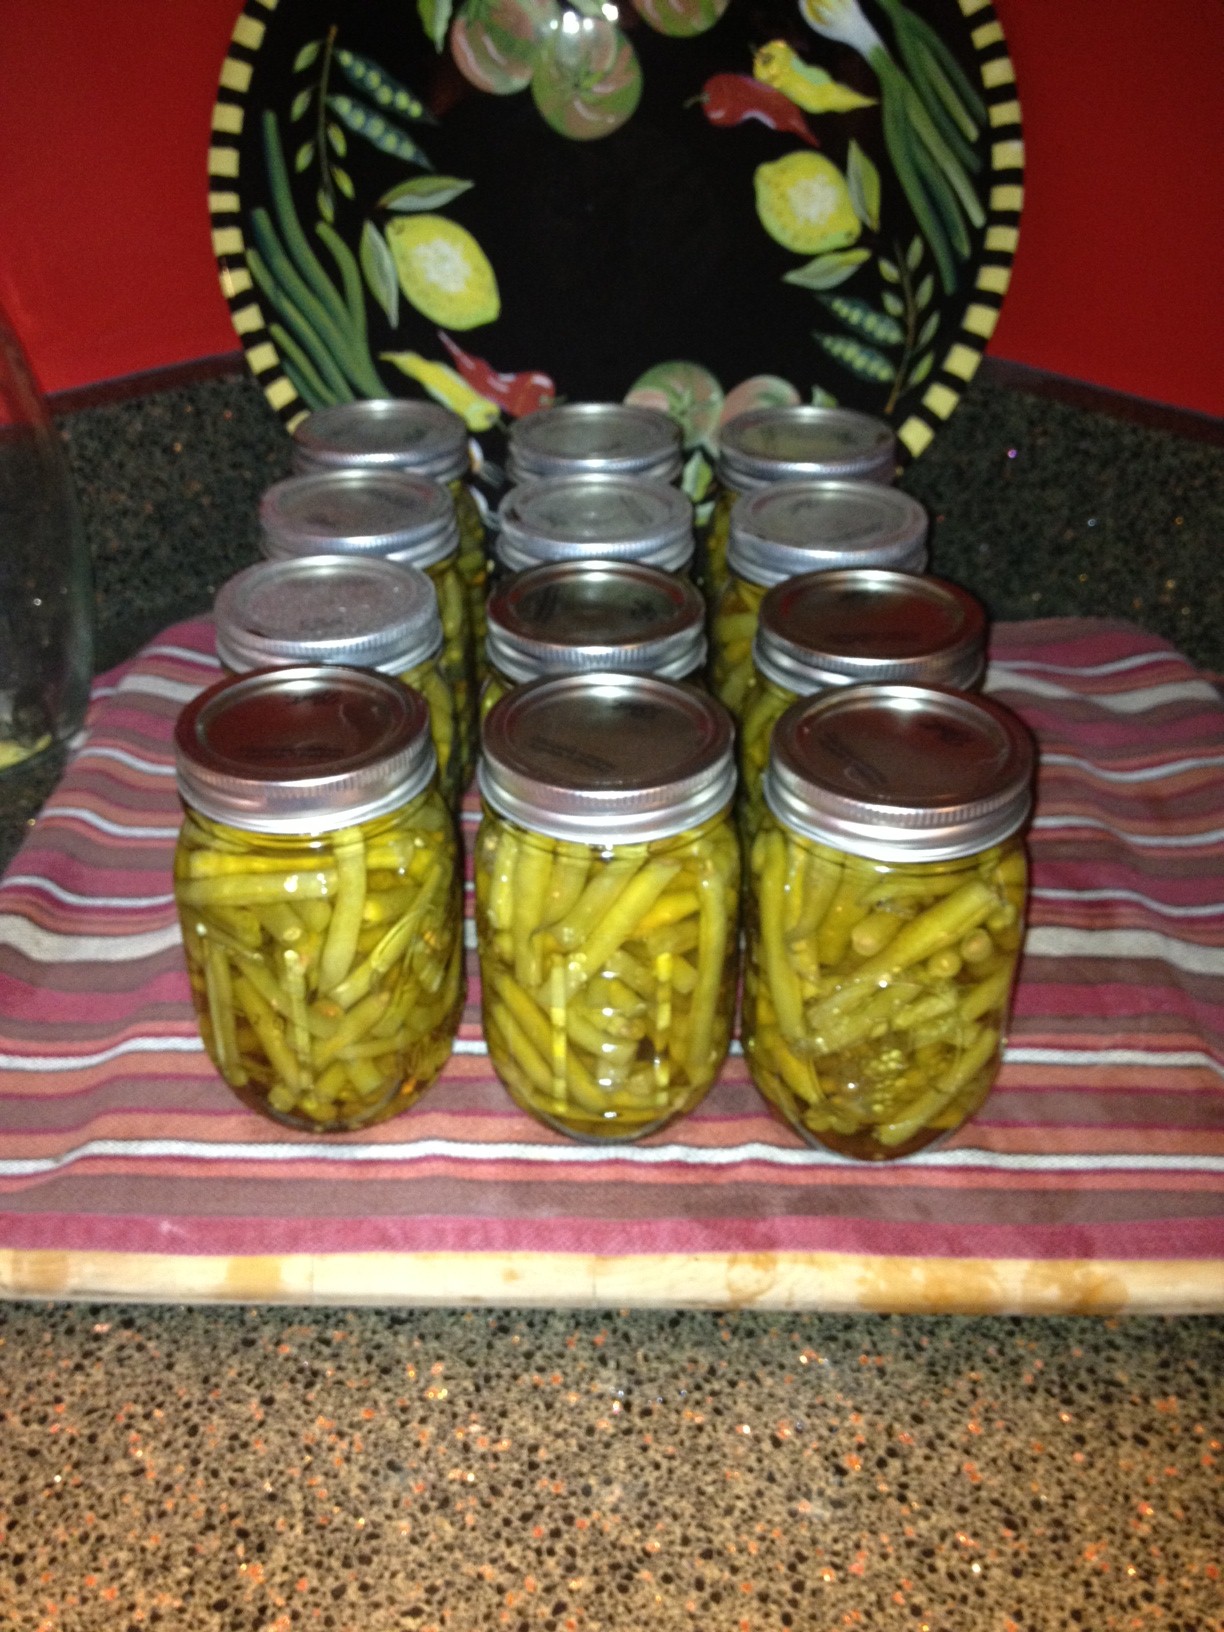
Canning Green Beans with Bacon Recipe
Pressure-canned green beans with bacon create a flavorful, ready-to-heat side dish that you can store right in your pantry. This recipe combines fresh green beans with crispy cooked bacon and optional salt before pressure processing, allowing the smoky bacon flavor to complement the beans inside each jar. Once opened, simply heat and serve the green beans as a side dish or use them as a convenient starter for green bean casserole.
I sometimes use affiliate links in my content. This will not cost you anything but it helps me offset my costs to keep creating new canning recipes. Thank you for your support.
By Diane Devereaux | The Canning Diva®
Last updated: October 2, 2026
Key Takeaways
- Bacon adds smoky, savory flavor: Crispy cooked bacon adds extra flavor to traditional home-canned green beans.
- Raw packing keeps preparation simple: Fresh green beans go directly into the prepared jars before adding water and pressure processing.
- Salt is optional: Add salt for flavor if desired or leave it out entirely.
- Choose your jar size: Preserve the beans in pints or quarts depending on the amount you typically serve at mealtime.
- More than a simple side dish: Heat and serve them straight from the jar or use them as a convenient starting point for green bean casserole.
How to Prepare Green Beans with Bacon for Pressure Canning
Fresh green beans provide the best flavor and texture for this recipe. Whether you grow your own beans or purchase them from a farmers market or grocery store, choose crisp, firm beans without soft spots, blemishes, or signs of deterioration.
Before you begin, wash the beans thoroughly under cool running water. Remove the stem end from each bean and trim the opposite end if desired. You can leave smaller beans whole or cut longer beans into approximately 1- to 2-inch pieces, depending on how you prefer to serve them.
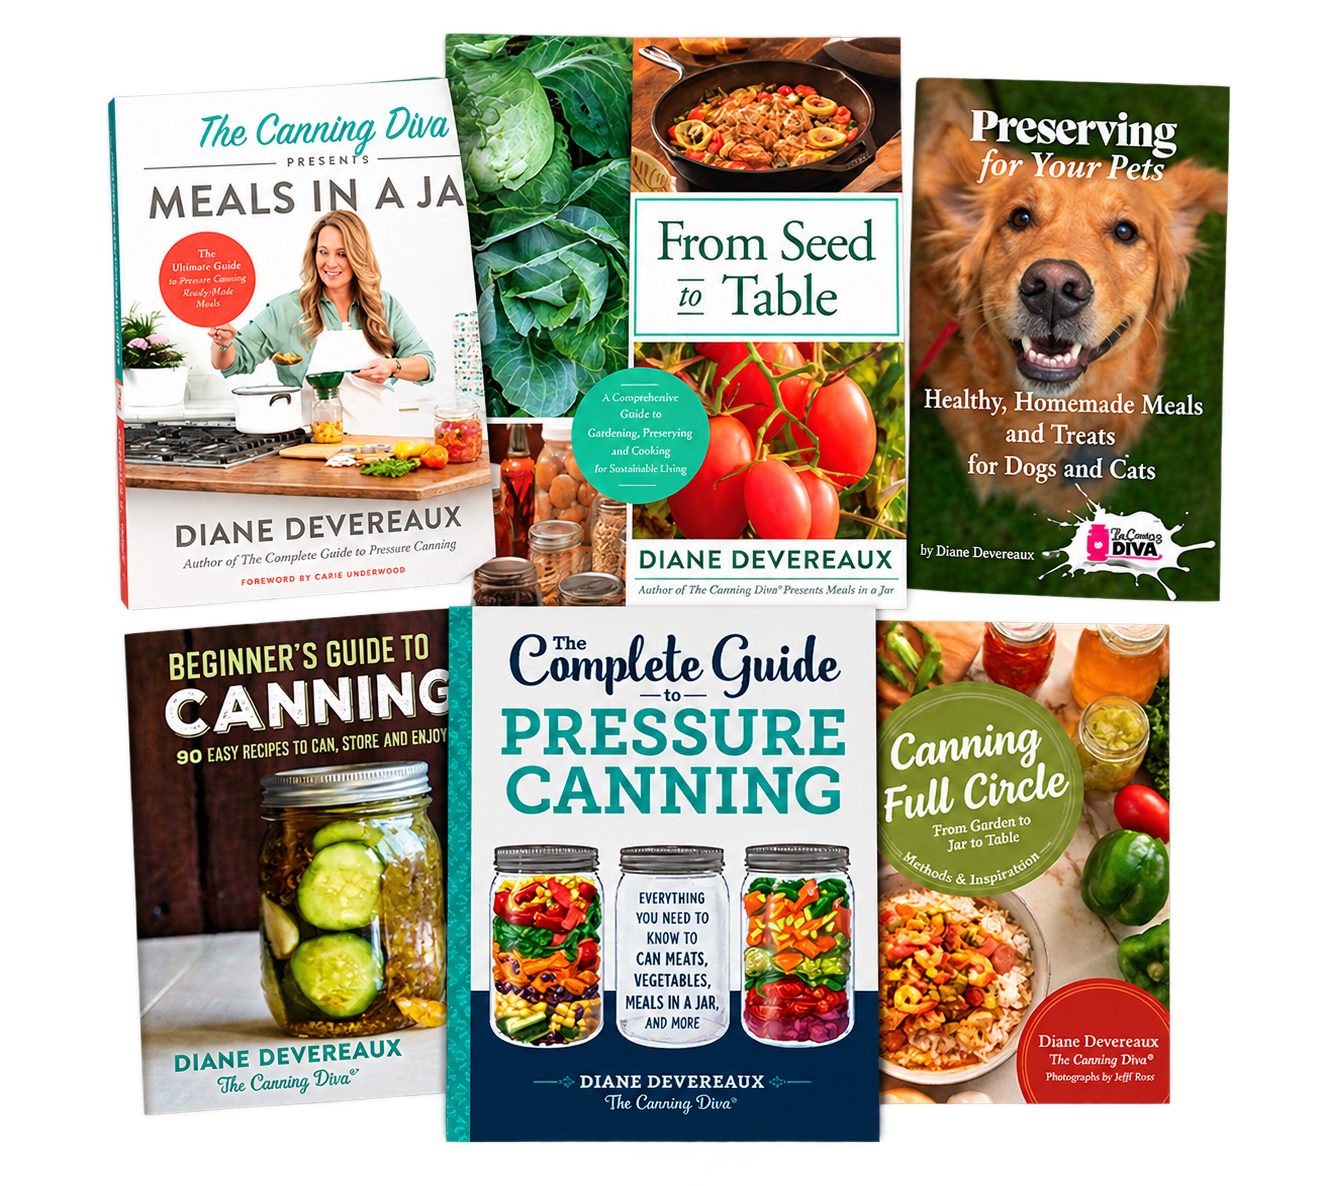
Explore The Canning Diva's Book Collection
From mastering the fundamentals of home canning to creating delicious meals in a jar, preserving your garden harvest, and preparing homemade food for your pets, discover my collection of books designed to help you preserve more and make the most of every season.
Whether you want to master water bath canning, pressure canning, dehydrating, or other food preservation skills, The Canning Diva® has you covered. Find the book that fits your goals and start preserving with confidence.
How Many Green Beans Do You Need?
Doing the Math: It is up to you how many jars of home canned green beans you’d like to see lining your pantry shelves. I like to can both pints and quarts so I have the right amount handy depending on who’s coming to dinner. Based on personal experience, I’ve done some of the math for you and listed a guideline below. Keep in mind – the size and weight of the type of bean you use will ultimately determine how much you will need.
50 pounds of cut beans & 5 pounds of bacon will produce approximately 45 quarts or 90 pints
10 pounds of cut beans & 1 pound of bacon will produce approximately 9 quarts or 18 pints
2 pounds of cut beans & 2 slices of bacon will produce approximately 1 quart or 2 pints
Keep in mind that the exact amount you fit into each jar can vary depending on the size and thickness of the beans and how tightly you pack them. Having a extra green beans available is always helpful when filling the final jars.
Preparing the Bacon
For this recipe, cook the bacon until crispy before adding it to the jars. Drain away the excess bacon grease and prepare the bacon according to the quantities listed in the recipe.
Adding the cooked bacon directly to each jar distributes its smoky, savory flavor throughout the green beans during pressure processing. When you later open a jar, you already have a seasoned vegetable side dish that requires very little additional preparation.
Before You Start Filling Jars
Have your prepared green beans, cooked bacon, pepper, hot water, clean jars, lids, and pressure canner ready before you begin filling the jars. Organizing everything beforehand makes the packing process easier and helps you move efficiently from preparing the ingredients to processing the filled jars.
Packing the Jars
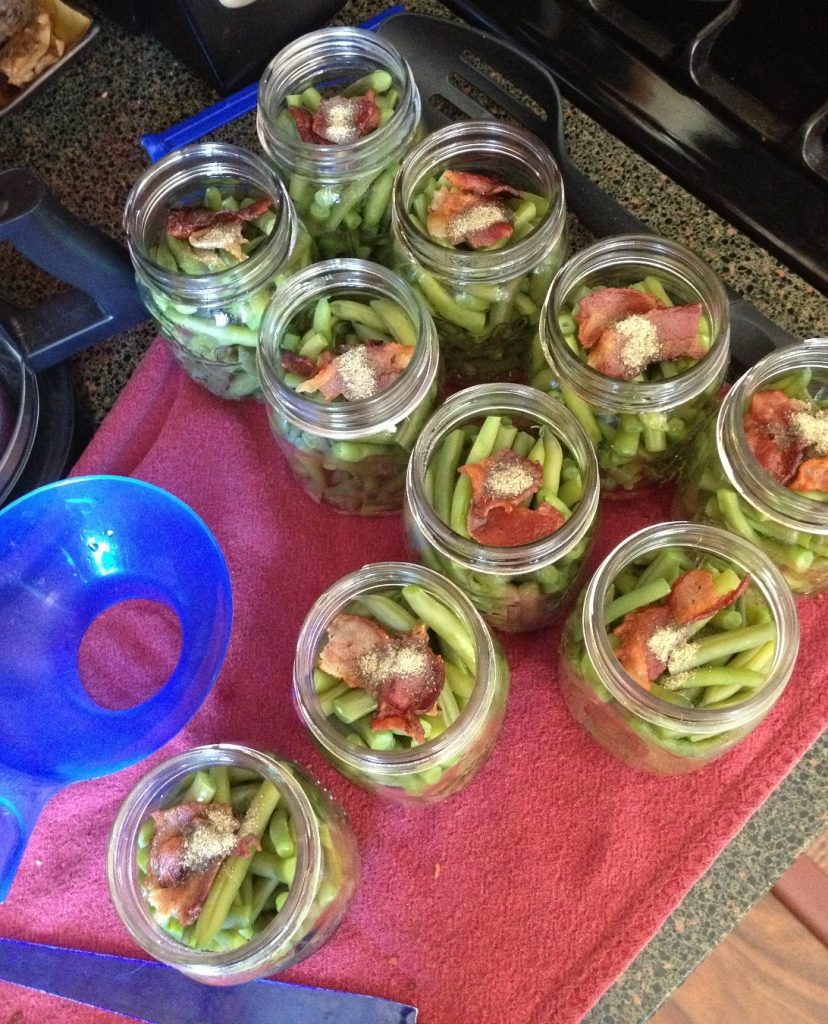
Now, I don’t know about you, but I do not like eating mushy green beans with my meal. For that reason, I use the raw pack method when home canning green beans. Pack each jar tightly with as many raw green beans as the jar will hold – being sure to leave a 1-inch head space. I use the end of my wooden spoon to tamp down the beans. This allows me to pack as many as I can inside the jar.
Reason we pack them tight: When the jars are processed, the green beans will shrink up some so you want to have the jar packed full so you don’t wind up with more water than beans.
Canning Green Beans with Bacon Recipe
Fresh green beans and crispy bacon come together in this easy pressure-canning recipe for a flavorful, ready-to-heat pantry side dish. Raw packing helps the green beans maintain their texture, while bacon adds a delicious smoky, savory flavor to every jar. Serve these green beans alongside your favorite meal or use them as a convenient starter for green bean casserole.
Yield: Approx. 9 quarts or 18 pints
Ingredients
- 10 pounds fresh green beans
- 1 pound bacon
- Cracked black pepper (optional)
- Cool or room-temperature water
Instructions
- Wash the green beans thoroughly under cold running water. Discard any beans showing signs of deterioration or rust. Remove the stem ends, leaving the opposite tips intact, and cut the beans into approximately 2-inch pieces.
- Fry the bacon in a large skillet until crispy but not burnt. Transfer the cooked bacon to paper towels and allow the excess grease to drain. Once cooled, crumble the bacon into small pieces and set aside.
- Add 1 tablespoon crumbled bacon and 1 teaspoon pepper, if using, to each quart jar. For pint jars, add ½ tablespoon crumbled bacon and ½ teaspoon pepper, if using.
- Tightly pack the raw green beans into each jar, using the end of a wooden spoon if needed to help settle the beans into the jar. Leave 1-inch headspace.
- Cover the beans with cool or room-temperature water while maintaining 1-inch headspace.
- Remove air pockets and adjust the headspace if necessary. Wipe the jar rims clean, center the lids, and apply the bands until fingertip tight.
- Place the jars in your pressure canner and process at 10 pounds of pressure, adjusting pressure for your elevation and canner type as necessary. Process quarts for 25 minutes and pints for 20 minutes.
Canning Green Beans with Bacon Recipe
Fresh green beans and crispy bacon come together in this easy pressure-canning recipe for a flavorful, ready-to-heat pantry side dish. Raw packing helps the green beans maintain their texture, while bacon adds a delicious smoky, savory flavor to every jar. Serve these green beans alongside your favorite meal or use them as a convenient starter for green bean casserole.
Servings
9 quarts or 18 pints
servingsPrep time
30
minutesIngredients
10 pounds 10 fresh green beans
1 pound 1 bacon
Cracked black pepper (optional)
Cool or room-temperature water
Instructions
- Wash the green beans thoroughly under cold running water. Discard any beans showing signs of deterioration or rust. Remove the stem ends, leaving the opposite tips intact, and cut the beans into approximately 2-inch pieces.
- Fry the bacon in a large skillet until crispy but not burnt. Transfer the cooked bacon to paper towels and allow the excess grease to drain. Once cooled, crumble the bacon into small pieces and set aside.
- Add 1 tablespoon crumbled bacon and 1 teaspoon pepper, if using, to each quart jar. For pint jars, add ½ tablespoon crumbled bacon and ½ teaspoon pepper, if using.
- Tightly pack the raw green beans into each jar, using the end of a wooden spoon if needed to help settle the beans into the jar. Leave 1-inch headspace.
- Cover the beans with cool or room-temperature water while maintaining 1-inch headspace.
- Remove air pockets and adjust the headspace if necessary. Wipe the jar rims clean, center the lids, and apply the bands until fingertip tight.
- Place the jars in your pressure canner and process at 10 pounds of pressure, adjusting pressure for your elevation and canner type as necessary. Process quarts for 25 minutes and pints for 20 minutes.
Did you make this recipe?
Tag @canningdiva on Instagram and hashtag it with #thecanningdiva
Like this recipe?
Follow @canningdiva on Pinterest
About the Author:
Diane Devereaux, The Canning Diva®, is an internationally recognized food preservation expert, author, and educator with over 30 years of home canning experience. She’s the author of multiple top-selling canning books and teaches workshops across the U.S. Learn more at TheCanningDiva.com.