Check this out!
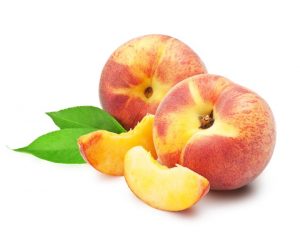
Have you ever wondered why we use “peachy” to describe so many things? Life is peachy, a movie can be peachy, even a person (typically a young woman) is peachy! But…why?
In our culture today, the word “peach” is generally synonymous to “wonderful” among other things. While it might seem silly, it’s really nothing new. In fact, it’s a symbol of happiness, longevity, and prosperity in Korea, and signifies protection, luck, and abundance in China. It’s quite fitting, too, as this fruit has been lucky enough to make its way from China, to Persia, to Europe, and the Americas.
Thank goodness it did, too, because we are coming into the start of peach picking season! (Try saying that five times fast.) It’s time to get out to the orchard, or your local farmers market and get ready for some peachy goodness. In fact, they’re so delicious and good for you, you could serve them as desert like the Victorians. Just wrap ‘em up in a white napkin and voila!
Fun Recipes for Canning Peaches
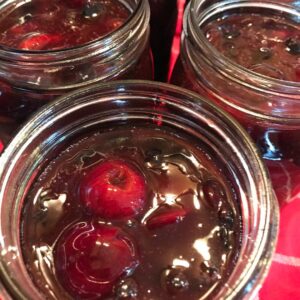
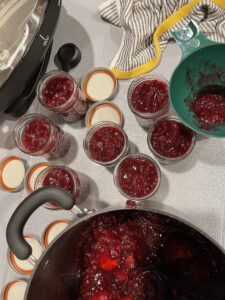
If you’re looking to get a little fancier, try my Peach Pistachio Conserve. It’s delicious atop goat cheese, and great with Foie gras or as an addition to your next Prosciutto and Pancetta plate. These recipes and more can be found in my cookbook, Canning Full Circle: Garden to Jar to Table.
If you prefer to simply preserve your peaches in syrup (or just water) I have an entire  section on Pressure Canning Fruits – which is a FREE Bonus Chapter I have made available to everyone. Pressure canning fruits and vegetables, like described in my latest cookbook, The Complete Guide to Pressure Canning: Everything You Need to Know to Can Meats, Vegetables, Meals in a Jar and More, is the perfect way to quickly preserve fruits and vegetables, therefore retaining more of the foods nutritional value. And if you enjoy making peach cobbler, having home canned peaches on the ready gives you a leg up in making this yummy treat any time of the year! (Speaking of peach cobbler, did you know that Georgia makes the largest cobbler on record each year? It’s 11 by 5 feet! That is a lot of cobbler.)
So what are you waiting for? Pick up a bushel of peaches! You won’t regret it, because peaches are a gold mine (get it, because they’re gold) of nutritional benefits. Peaches are good for your eyes, heart, skin, and for preventing cancer due to being such a great source of vitamin C. They are also great for diabetes! High fiber diets help regulate glucose levels, and at about two grams per peach, it’s a good choice. You might even say it’s “peachy.”
Happy Canning!
XO
Diane, The Canning Diva®
Photo Credit: Featured Image, Natalia Zadorozhna; ISO Image Sergii Telesh


