
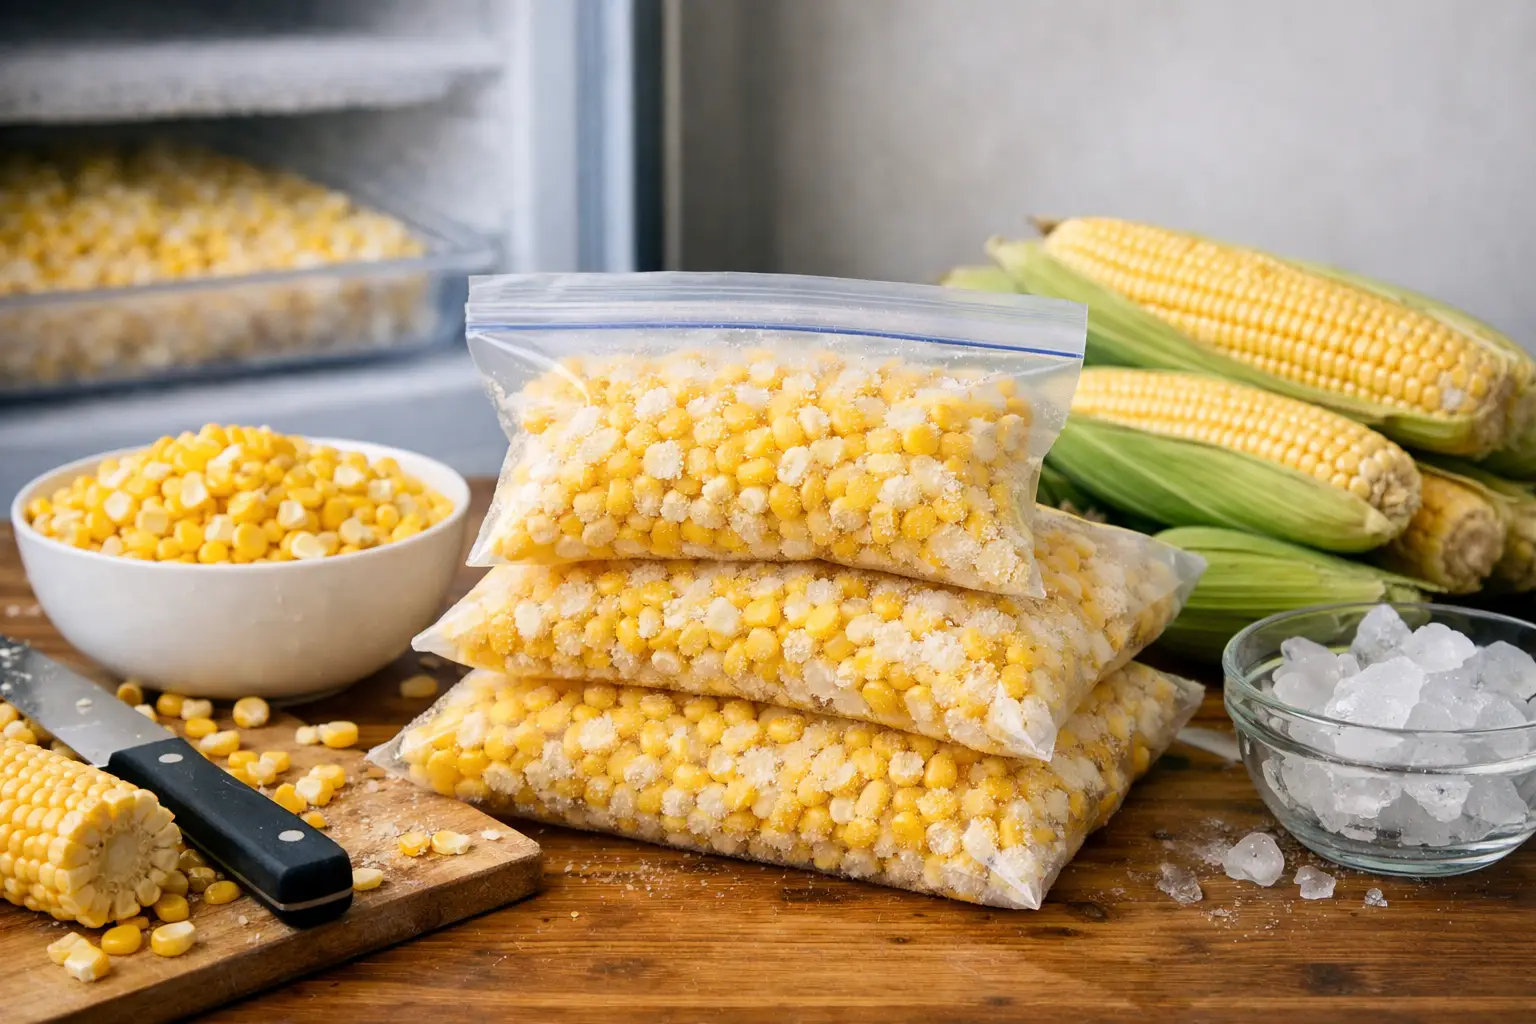
How to Freeze Garden Corn for Winter Meals
Freezing garden corn is one of the easiest ways to preserve its flavor, color, and texture for winter meals. For the best long-term freezer quality, blanch freshly harvested corn before freezing to slow the enzyme activity that causes changes in flavor and texture over time. Corn may be frozen as whole kernels, cream-style corn, or on the cob, then stored at 0°F or below for use throughout the year.
(I sometimes use affiliate links in my content. This will not cost you anything but it helps me offset my costs to keep creating new canning recipes. Thank you for your support.)
By Diane Devereaux | The Canning Diva®
Last updated: August 24, 2026
Key Takeaways
- Freeze corn as soon after harvest as possible. Sweet corn begins converting its natural sugars to starch after picking, so prompt processing helps preserve its flavor and texture.
- Blanch corn for the best long-term freezer quality. Blanching slows enzyme activity that can affect flavor, color, and texture during storage.
- Choose the format that works for your household. Freeze corn as whole kernels, cream-style corn, or on the cob depending on how you plan to use it.
- Package corn with as little air as possible. Proper freezer packaging helps prevent moisture loss and freezer burn.
- For best quality, use frozen corn within 8 to 12 months. Keep it continuously frozen at 0°F or below and rotate older packages forward as you add to your freezer supply.
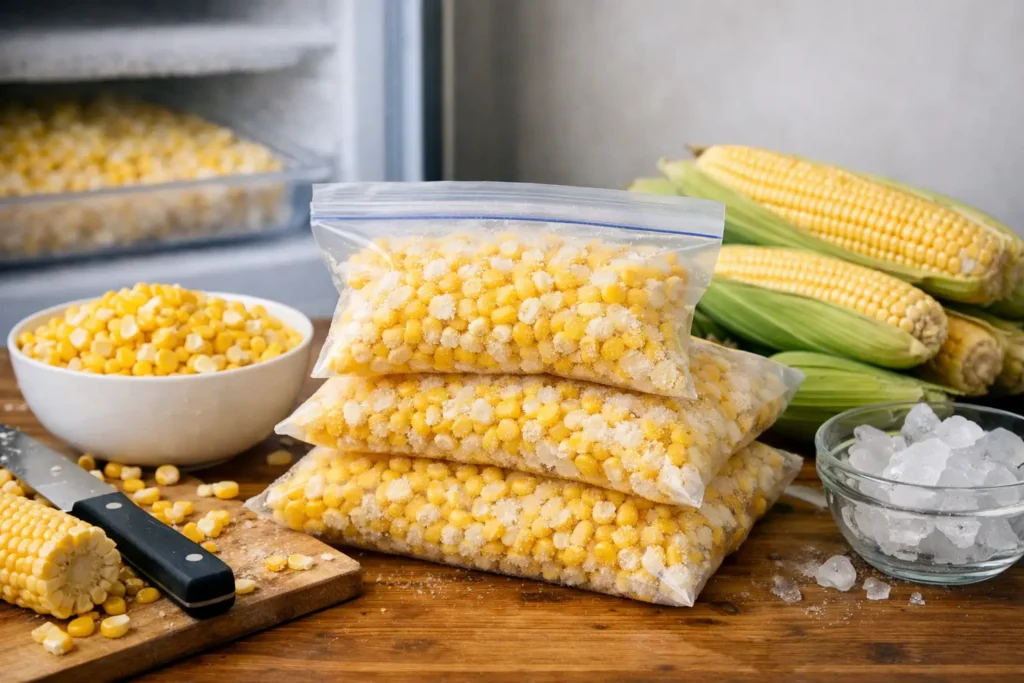
Garden corn begins losing sweetness the moment it is picked. That is why learning how to freeze garden corn is less about filling freezer bags and more about moving your harvest from garden to freezer with purpose. Blanching at the right time, cooling quickly, and packing well preserve the tender kernels, sunny flavor, and color you want when winter meals need a taste of summer.
Freezing is one of the simplest ways to build a practical food reserve. It does not make corn shelf-stable, and it does require dependable freezer space, but it gives your household a versatile ingredient for chowders, casseroles, skillet suppers, cornbread, and side dishes. Preserve corn at its peak, and you will be well fed long after the stalks have dried in the garden.
Choose and Prepare Corn at Its Peak
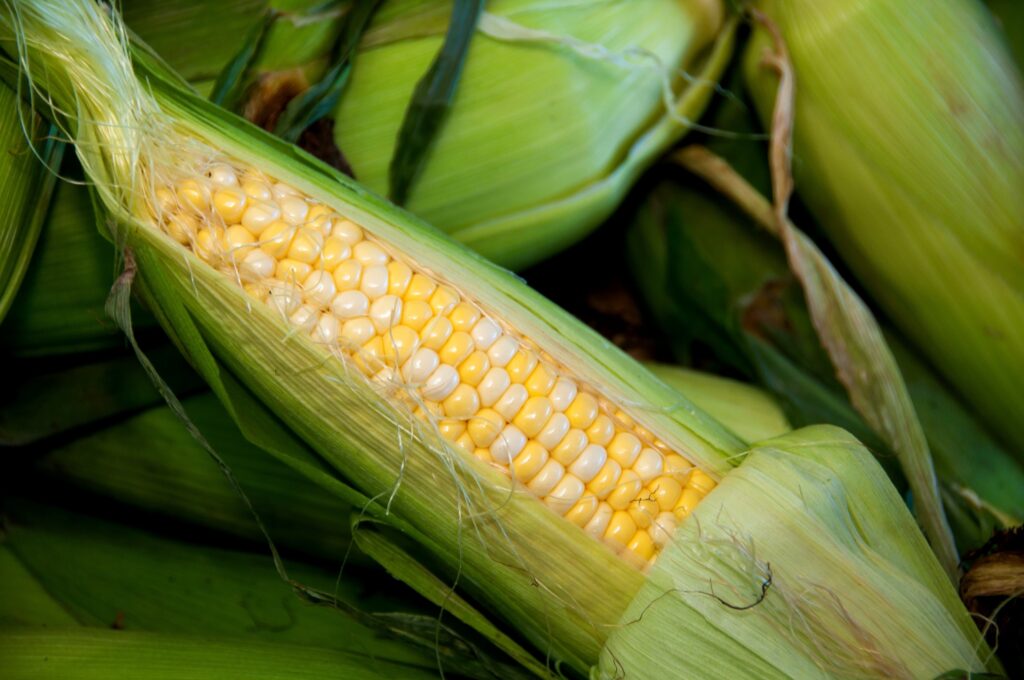
Pick corn when the silks are brown and dry, the husks are bright green, and the kernels release a milky liquid when pierced. Corn that has become starchy or tough in the garden will not improve in the freezer. If possible, harvest in the cool morning hours and begin preserving it the same day.
For the best quality, work in manageable batches. Shuck the ears, remove as much silk as possible, and trim away any damaged areas. Rinse the ears under cool running water. You do not need to scrub every strand of silk away, but removing most of it now makes cutting and cooking easier later.
Set up your work area before you start blanching: a large pot of boiling water, a second large bowl or clean sink filled with ice water, a colander, clean towels, a sharp knife, and freezer-safe containers or bags. This preparation matters. Once the corn enters boiling water, you need to keep the process moving.
How to Freeze Garden Corn as Kernels
Whole-kernel corn is the most useful format for most households. It takes up less freezer space than whole ears and can go straight from the freezer into nearly any recipe.
Bring a large pot of water to a rolling boil. Use at least 1 gallon of water for each pound of corn being blanched, and do not crowd the pot. And be sure the water returns to a boil before blanching the next batch of corn. Add the shucked ears and blanch them for 4 minutes. Blanching is the best overall optional. It slows the natural enzymes that cause frozen vegetables to lose flavor, texture, and color during storage.
As soon as the 4 minutes are up, transfer the ears to ice water. Cool them for at least 4 minutes, adding more ice as needed to keep the water cold. The goal is to stop the cooking quickly. Corn that remains warm in the center will continue cooking, resulting in soft kernels and diminished quality.
Drain the ears thoroughly and pat them dry. Stand each ear upright in a shallow bowl or on a cutting board with a rim. Using a sharp knife, cut the kernels from the cob, leaving the tough cob base behind. Do not cut too deeply into the cob, as that can add a coarse texture to your corn.
If you are processing several ears of corn at once, a corn cutter tool makes quick work of removing the kernels from the cob. Rather than standing each ear upright and cutting downward with a knife, this simple tool strips the kernels as you work your way around the cob, helping contain the mess while making it much faster to prepare a large harvest for the freezer.
For cream-style corn, use the back of the knife after removing the kernels to scrape the remaining milky pulp from the cob. This creates a richer product for soups, casseroles, and old-fashioned corn pudding. Pack cream-style corn in smaller portions because it is best used shortly after thawing.
Measure the kernels into meal-sized portions. A pint of frozen corn is useful for a small family side dish, while a quart is practical for soup, chowder, or a larger meal. Leave 1/2 inch of headspace in rigid freezer containers. If using freezer bags, press out as much air as possible before sealing. Flatten bags in a single layer so they freeze quickly and stack neatly.
Label every package with the contents, amount, and date. A freezer full of unidentified bags is not preparedness. Clear labels turn your harvest into an organized food supply.
Freezing Corn on the Cob
Corn on the cob is worth freezing when your family enjoys it as a side dish and you have the freezer space. It is not the most efficient storage method, but it delivers that familiar summer-table experience when served during colder months.
Blanch small ears for 7 minutes, medium ears for 9 minutes, and large ears for 11 minutes. Place the ears immediately into ice water for the same amount of time used for blanching. Drain well, then dry the ears completely with clean towels.
Wrap each ear individually or pack several ears into heavy freezer bags. Remove as much air as possible. Individual wrapping can protect against freezer burn, but it creates more packaging waste and takes additional time. If you plan to use several ears at once, packing them together in a well-sealed bag is often the more practical choice.
When it is time to serve, cook frozen corn on the cob directly from the freezer. Add it to simmering water, steam it, or roast it until heated through. Avoid thawing it first, which can leave it watery and unevenly heated.
Why Blanching Makes the Difference
A common question is whether fresh corn can simply be cut from the cob and frozen raw. It can, but the better question is whether it will remain at its best. Raw-frozen corn may be acceptable for a short period, particularly if you plan to use it within a month, yet it often develops a less appealing flavor and texture over time.
Blanching is a food quality step, not a preservation step. Freezing is the preservation step that keeps food safe while it remains frozen at 0°F or below. The blanching process protects quality by slowing enzyme activity, while proper packaging protects the corn from air exposure and freezer burn.
Do not overblanch, either. Too much time in boiling water begins cooking the kernels and can make them chewy or soft after reheating. Use a timer. Reliable preservation comes from repeatable methods, not guesswork.
Pack for Quality and Use Within a Year
For the best flavor and texture, use frozen corn within 8 to 12 months. It may remain safe longer if continuously held at 0°F or below, but quality gradually declines. Rotate your supply by placing newly frozen packages behind older ones.
Freezer burn is not a safety issue, but it is a quality issue. It occurs when food is exposed to air and moisture escapes from its surface. Choose bags made for freezing, remove excess air, and keep your freezer at a steady temperature. A chest freezer generally maintains quality more reliably than a freezer that is opened frequently, but any properly maintained freezer can serve a household well.
If you lose power, keep the freezer door closed. Food that still contains ice crystals or has remained at refrigerator temperature or colder can generally be refrozen, though its quality may suffer. When in doubt about how long food has been warm, protect your household and discard it.
Put Your Frozen Corn to Work
Frozen garden corn does not need to be thawed for most cooked dishes. Add kernels directly to chili, vegetable soup, taco filling, succotash, shepherd’s pie, or a creamy corn chowder. Cooking it briefly helps retain its tender bite and fresh flavor.
For a simple side dish, warm corn in a skillet with a small amount of butter, salt, and pepper. Add diced sweet pepper, chopped onion, or a pinch of smoked paprika when you want a more substantial dish. The point of preserving food is not merely storing it. It is making everyday meals easier, more nourishing, and less dependent on a last-minute trip to the store.
A few hours spent freezing corn at harvest can provide many meals of real food in the months ahead. Each labeled package is proof that practical skills build confidence, and that a seasonal abundance can become lasting nourishment for your family.
About the Author:
Diane Devereaux, The Canning Diva®, is an internationally recognized food preservation expert, author, and educator with over 30 years of home canning experience. She’s the author of multiple top-selling canning books and teaches workshops across the U.S. Learn more at TheCanningDiva.com.