
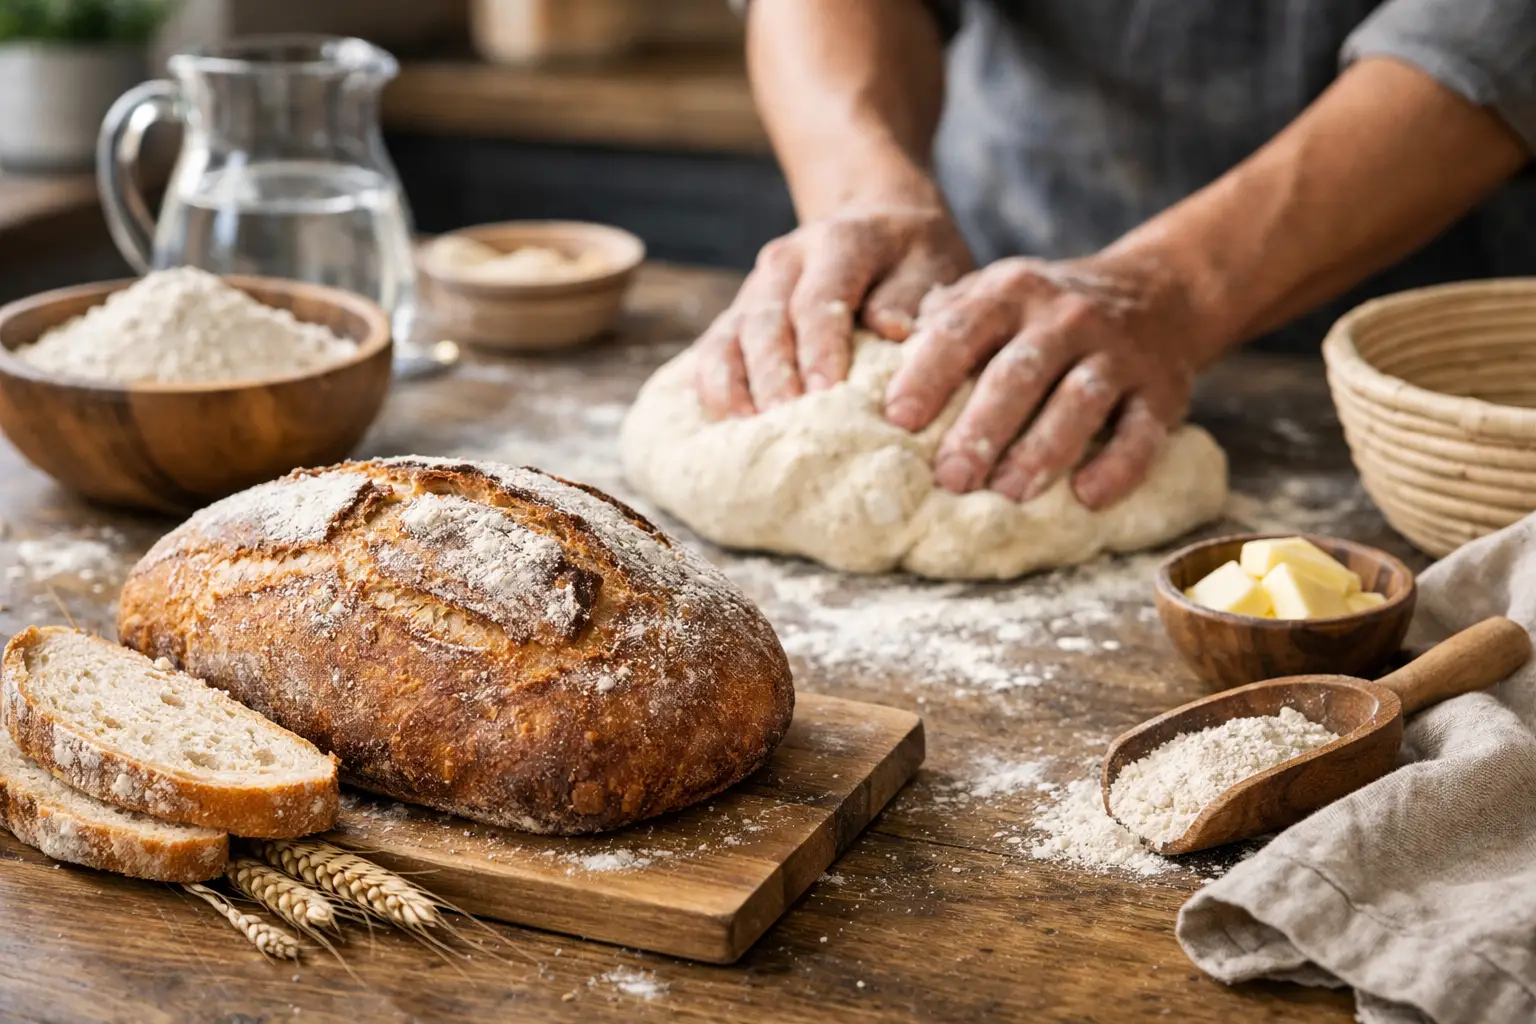
Bread Making From Scratch at Home
A loaf of bread can still be one of the most practical foods in your kitchen. When grocery prices climb, store shelves run thin, or ingredient labels grow longer than they should, bread making from scratch gives you something better – control, consistency, and a skill you can rely on. It is not complicated, but it does ask for attention, patience, and a willingness to learn what the dough is telling you.
For households focused on self-reliance, bread is more than a side dish. It is a pantry skill. Flour, water, salt, and yeast can become sandwich bread, soup bread, dinner rolls, pizza dough, and more. Once you understand the basic method, you are no longer dependent on packaged loaves filled with conditioners and preservatives. You can make bread that fits your ingredients, your schedule, and your family’s needs.
(I sometimes use affiliate links in my content. This will not cost you anything but it helps me offset my costs to keep creating new
By Diane Devereaux | The
Last updated: April 6, 2026
Why bread making from scratch still matters
Bread has always been a foundational kitchen skill because it turns shelf-stable ingredients into filling, useful food. A bag of flour stored properly can stretch into several meals. Dry yeast keeps well, salt is already a pantry staple, and even a modest water supply can support basic bread making. That makes homemade bread especially valuable for seasonal living, preparedness, and budget-conscious cooking.
There is also a quality difference you can taste. Fresh bread made at home has a better crust, better texture, and a cleaner ingredient list. More importantly, you decide what goes into it. If you want to use unbleached flour, add whole grains, reduce sugar, or skip dairy, you can. That kind of control matters when you are building a kitchen around real ingredients and dependable methods.
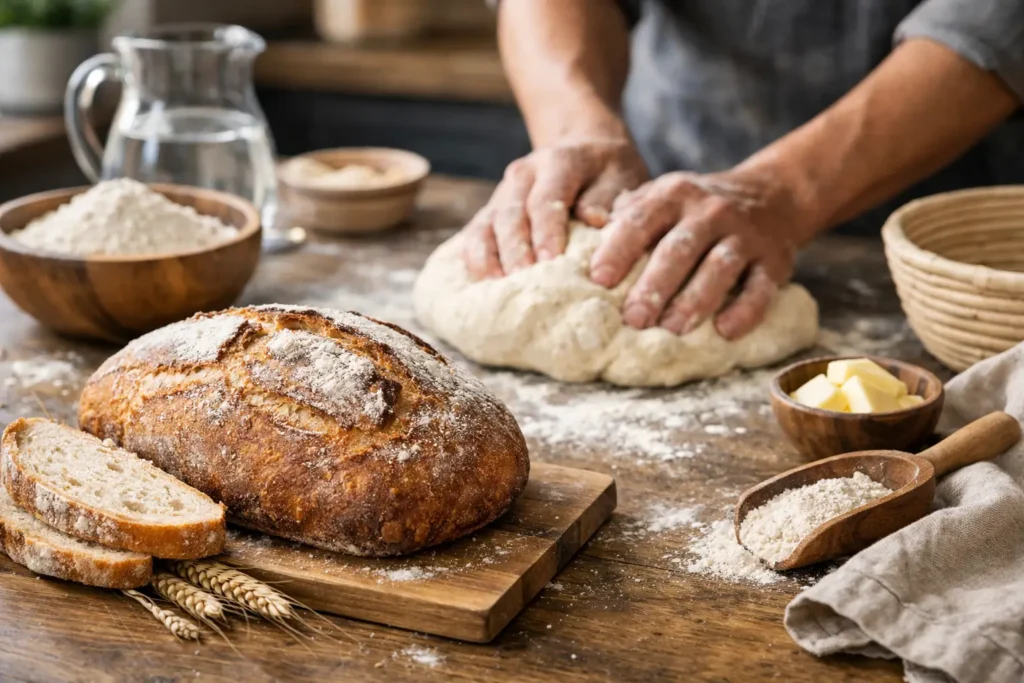
Still, from-scratch bread has trade-offs. It takes time. Weather affects rising. Different flours absorb water differently. The process gets easier with practice, but it is not always identical from one batch to the next. That is not failure. That is part of working with real food.
Humidity also affects dough consistency. On damp days, dough may feel stickier and need slightly less water. In dry climates or winter kitchens, flour may absorb more moisture and require small adjustments.
The core ingredients for bread making from scratch
Most basic yeast breads use just a handful of ingredients, and each one has a job to do. Flour provides structure. Water hydrates the flour and activates the yeast. Salt strengthens the dough and improves flavor. Yeast creates the rise.
Sugar and fat are optional in many recipes, though both can be helpful depending on the kind of loaf you want. A little sugar can feed yeast and soften flavor, while oil or butter can make sandwich bread more tender. Lean doughs, such as rustic hearth loaves, often skip added fat and stay simpler.
The flour you choose matters. All-purpose flour works well for many home bakers, especially for sandwich loaves and everyday bread. Bread flour has more protein, which can create stronger gluten and a chewier texture. Whole wheat flour adds nutrition and flavor, but it also absorbs more water and can make dough heavier. If you are new to baking, start with mostly white flour and add whole wheat gradually.
Yeast choice matters less than many people think. Active dry yeast and instant yeast can both make excellent bread. Instant yeast is a bit more convenient because it can usually be mixed directly into the flour. Active dry yeast is often dissolved first in warm water. Either one works if it is fresh and handled correctly.
The method that builds confidence
If you want consistent results, stop thinking of bread as a mystery and start treating it as a process. First, combine your ingredients and mix until a shaggy dough forms. Then knead until the dough becomes smoother and more elastic. After that, let it rise until it has expanded, shape it, allow a second rise, and bake.
That sequence sounds simple because it is. What changes from kitchen to kitchen is timing. A warm room may cut rising time nearly in half. A cool kitchen may slow it down. This is why experienced bakers watch the dough more than the clock.
When kneading by hand, expect to work the dough for about 8 to 10 minutes for a standard loaf. You are developing gluten, which gives bread structure. The dough should become soft, slightly tacky, and elastic rather than stiff or sticky like paste. If it tears easily, it likely needs more kneading. If it feels dry and hard, it may need a touch more water.
The first rise is where many beginners get nervous. Bread dough does not need perfection. It needs enough time to expand and trap gas. In most recipes, you are looking for the dough to roughly double in size. Press a finger lightly into the dough. If the indentation slowly remains, it is usually ready. If it springs back immediately, give it more time.
Shaping matters because surface tension helps the loaf rise upward instead of spreading outward. For a sandwich loaf, flatten the dough gently, roll it tightly, and pinch the seam closed before placing it in the pan. For a free-form loaf, draw the dough into a smooth round or oval shape without tearing the surface.
Common problems and what they usually mean
Dense bread is one of the most common frustrations in bread making from scratch. Sometimes the issue is not enough rising time, other times it is old yeast. And sometimes it is simply too much flour. This is why measuring flour carefully matters. If you scoop directly with the measuring cup, you can pack in more flour than the recipe intended. Spoon it into the cup and level it off, or better yet, weigh it.
If your loaf rises beautifully and then collapses, the dough may have overproofed before baking. In that stage, the gluten structure stretches too far and cannot hold itself up. A weak shape or too much liquid can also contribute.
If the crust is too hard, you may be baking too long or at too high a temperature for that style of bread. If the loaf is pale and soft when you wanted more color, the oven may be running cool. An inexpensive oven thermometer can solve a lot of confusion.
Then there is the gummy center problem. Bread needs to finish baking fully and then cool before slicing. Most standard sandwich loaves finish baking around 190°F to 200°F internally. Cutting too soon traps steam and leaves the crumb wet. As tempting as warm bread is, give the loaf time to set.
How to make homemade bread part of your routine
The easiest way to keep baking bread is to match the process to your real life. A simple white sandwich loaf is a strong place to begin because it is useful, forgiving, and familiar. Once that loaf becomes routine, branch into rolls, whole wheat bread, or no-knead rustic loaves.
You can also work bread baking into your larger food system. Make a loaf on soup day. Use stale ends for breadcrumbs or croutons. Save sandwich loaves for school lunches and toast bread. If you mill grain, garden, preserve soups, or keep a well-stocked pantry, bread fits naturally into that same rhythm of household readiness.
Freezing is another practical strategy. Bake two loaves, cool them completely, and freeze one. Homemade bread does not have the preservatives of store-bought bread, so it will not stay soft on the counter for a week. That is a strength, not a flaw. It means your bread is real food. Store it accordingly.
Building skill without overcomplicating it
Many new bakers assume they need special equipment to succeed. A stand mixer is helpful, but not necessary. A mixing bowl, loaf pan, clean surface, measuring tools, and a reliable oven are enough to make very good bread. A kitchen scale helps with consistency, especially if you plan to bake often.
The more important tool is observation. Learn the feel of properly mixed dough. Notice how long it takes dough to rise in summer compared with winter. Watch how your oven browns the crust. Practical kitchen confidence comes from repetition, not from chasing perfect results on day one.
That is also where heritage skills become lasting skills. Bread teaches patience, resourcefulness, and the value of making staple foods with your own hands. It belongs right alongside
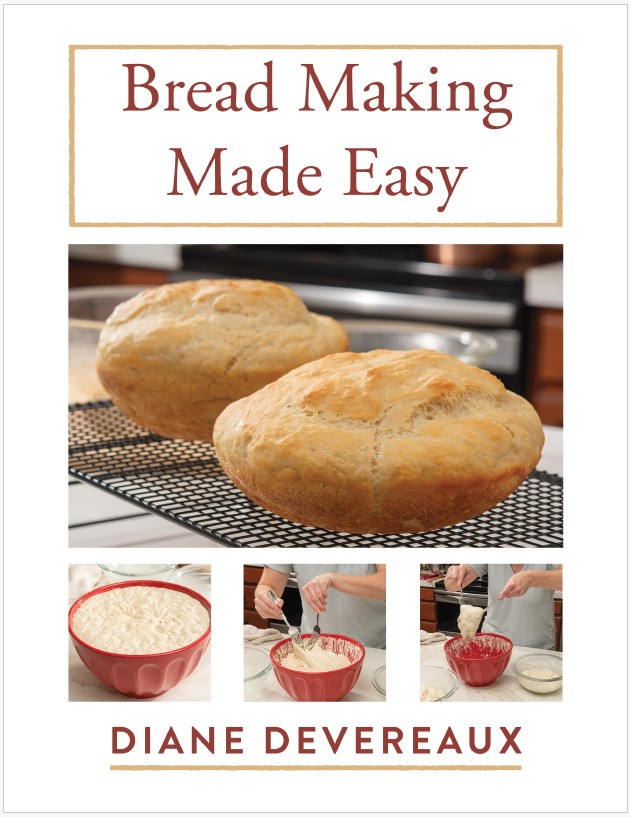
If you have been waiting for the right time to begin, start with one loaf. Keep the ingredients simple. Pay attention to the dough. Let each batch teach you something. Before long, bread making from scratch will stop feeling like a project and start feeling like part of the way you keep your household well fed. Enjoy this free eBook as a companion in the kitchen!
About the Author:
Diane Devereaux, The