
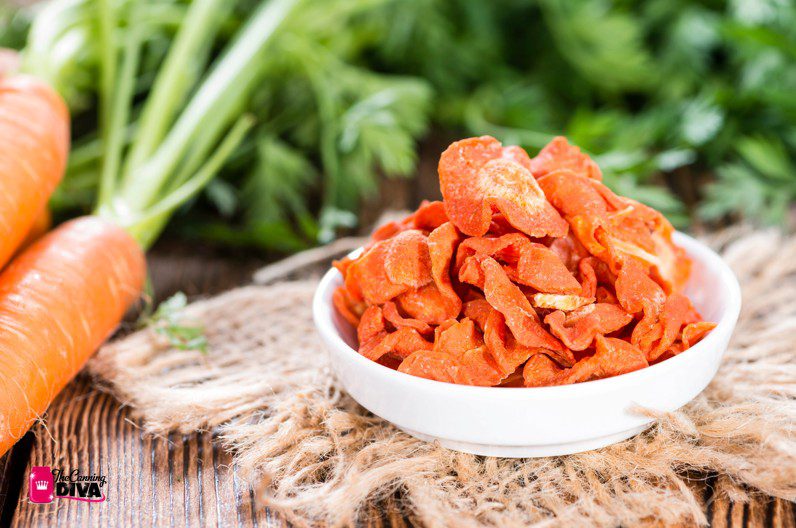
How to Store Dehydrated Vegetables Safely
A jar of beautifully dried green beans is not pantry-ready simply because the dehydrator has stopped. Learning how to store dehydrated vegetables correctly protects the time you spent growing, harvesting, slicing, blanching, and drying your food. Moisture, heat, light, and frequent handling can quickly turn a hard-earned harvest into a disappointing loss.
Proper storage is the final preservation step. When done well, dehydrated vegetables become lightweight, useful pantry staples for soups, stews, casseroles, omelets, camping meals, and long-term household readiness. The goal is simple: keep the food dry, protected, labeled, and easy to use.
I sometimes use affiliate links in my content. This will not cost you anything but it helps me offset my costs to keep creating new canning recipes. Thank you for your support.
By Diane Devereaux | The Canning Diva®
Last updated: August 6, 2026
Begin With Vegetables That Are Truly Dry
Storage cannot correct incomplete dehydration. Before packaging, each piece must be dry enough to prevent microbial growth and quality loss, yet not so overheated that it becomes scorched or brittle from poor technique. Most vegetables should feel dry and leathery to brittle, depending on the variety. They should not feel cool, soft, sticky, or pliable in the center.
Cut or slice into a consistent size before drying so they finish at the same rate. Thicker pieces often appear dry on the outside while retaining moisture inside. This is especially common with potatoes, onions, peppers, and thicker slices of summer squash or carrots.
Let dried vegetables cool completely before placing them in containers. Warm food placed in a sealed jar or bag can create condensation, and condensation is the enemy of shelf stability. Spread the food out briefly on a clean tray or leave it in the turned-off dehydrator with the door slightly open until it reaches room temperature.
Condition Dried Vegetables Before Long-Term Storage
Conditioning is a small step with a big payoff, particularly when drying a garden harvest. It allows any remaining trace moisture to redistribute evenly among the pieces before you commit food to long-term storage.
Place the cooled vegetables loosely in clean, dry glass jars or food-safe containers. Do not pack them tightly. Seal the containers and shake them once each day for a few days. Watch carefully for moisture droplets, clumping, or pieces that become noticeably softer.
If you see condensation, the vegetables are not dry enough. Return them to the dehydrator and dry them again, then cool and restart the conditioning process. Do not try to solve visible moisture by adding a desiccant packet or oxygen absorber. Those tools support good storage practices; they do not rescue under-dried food.
If mold appears at any point, discard the entire contents of the container. Do not pick out the affected pieces and keep the rest. Mold can spread beyond what is visible, and food preservation should always err on the side of safety.
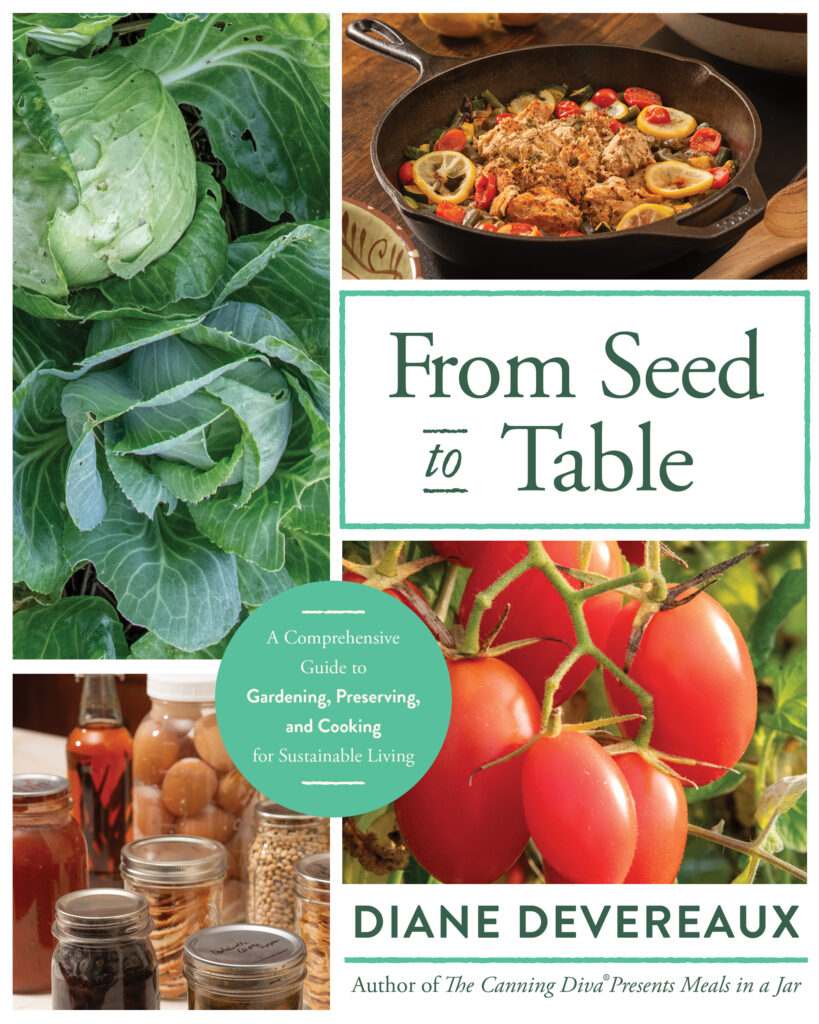
From Seed to Table: Grow It, Preserve It, Enjoy It!
Discover the art of sustainable living in From Seed to Table! Learn to grow productive gardens, collect and save seeds, preserve your harvest using a variety of food preservation methods, and master traditional heritage food crafts.
Explore delicious recipes using your preserved food stores while building greater self-reliance and making the most of every season. Get your copy today and start building a more sustainable, self-reliant lifestyle, one seed at a time!
How to Store Dehydrated Vegetables in the Right Container
The best container depends on how quickly your household will use the vegetables, how much you are storing, and whether you are building a working pantry or a deeper emergency reserve. In every case, choose packaging that blocks moisture and limits exposure to air and light.
For everyday pantry use, glass canning jars with tight-fitting lids work exceptionally well. They are reusable, easy to inspect, rodent-proof, and convenient for measuring ingredients into recipes. Store jars in a dark cabinet, not on an open shelf beside a sunny window.
For larger quantities or longer storage, vacuum-sealed jars, vacuum-sealed bags, or high-quality Mylar bags can offer greater protection. Vacuum sealing reduces available air, but it does not remove moisture from the food. Only vacuum seal vegetables that have been thoroughly dried and conditioned.
Mylar bags are especially helpful for storing dehydrated vegetables in bulk because they block light and provide a strong moisture barrier. Use an appropriately sized food-safe oxygen absorber if you are packaging fully dried vegetables for long-term storage. Once opened, a large bag should be used promptly or divided into smaller portions from the start.
Avoid thin sandwich bags, bread bags, and containers with loose lids. They may be acceptable for short-term use in a dry kitchen, but they are not dependable for preserving a harvest through changing seasons. A plastic storage tote is useful for organizing packaged food, but it is not a substitute for moisture-proof inner packaging.
Keep the Pantry Cool, Dark, and Dry
Where you store dehydrated vegetables matters as much as what you store them in. A cool, dark, dry location gives you the best chance of preserving flavor, color, and nutritional value. A basement pantry may be ideal if it is dry and does not experience flooding or excessive humidity. An interior closet or a dedicated pantry cabinet can also work well.
Avoid garages, sheds, attics, laundry rooms, and areas near a stove, dishwasher, or water heater. These locations often experience temperature swings, heat, humidity, or all three. The same jar of dried vegetables that holds well in a cool pantry can lose quality much faster in a hot garage.
Aim for storage temperatures around 60 degrees F or lower when possible. Not every household has a perfect storage room, and that is okay. The practical rule is to choose the coolest, driest, darkest place available and protect your food from seasonal extremes.
Label Every Container Like Your Pantry Depends on It
A well-stocked pantry only serves your household when you know what is in it and how old it is. Label each container with the vegetable, the date it was dried, and the date it was packaged. If you preserve several batches, include the year and, if useful, the variety or source, such as “2026 garden carrots” or “farmers market bell peppers.”
For long-term storage, also note whether the vegetables were blanched before drying. Blanching is often recommended for vegetables because it slows enzyme activity that can cause quality to decline during storage. This detail helps you evaluate your methods over time and repeat the practices that serve your family best.
Use the oldest packages first. A first-in, first-out system prevents forgotten jars from lingering in the back of the pantry while newer food is opened first. Keep a simple pantry inventory if you are storing substantial quantities for preparedness or seasonal meal planning.
Know What Shelf Life Really Means
Properly dried and well-packaged vegetables generally provide their best quality within the first year of storage, and can remain usable beyond up to 3 to 5 years if stored under excellent conditions, but flavor, color, and vitamin retention gradually decline. Shelf life is not a guarantee stamped by the calendar. It depends on dryness, packaging, storage temperature, light exposure, and how often the container is opened.
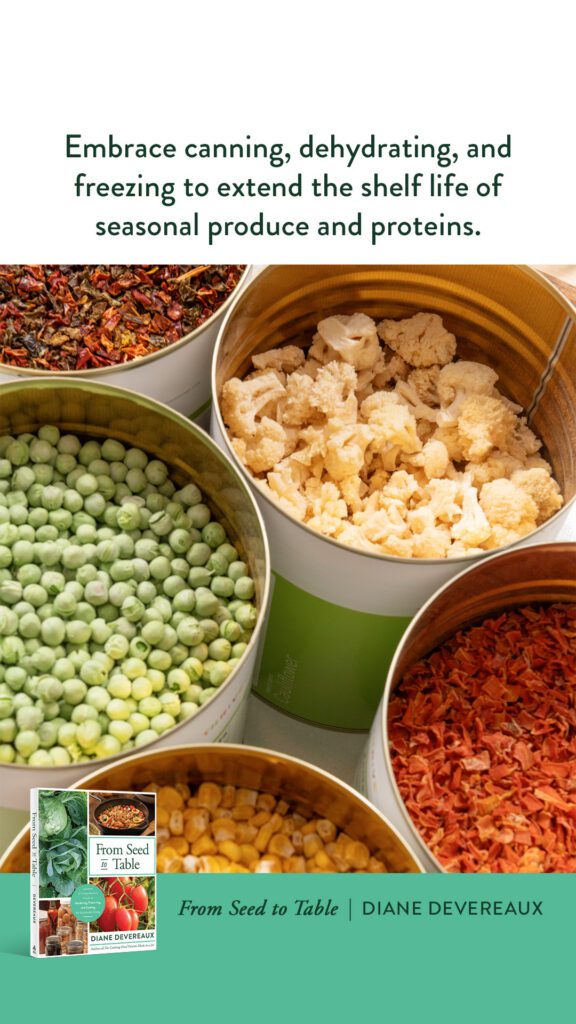
Onions, peppers, celery, and herbs can lose their aroma more quickly than denser vegetables. Potatoes, carrots, corn, peas, and green beans often store well when dried thoroughly and protected from humidity. Rather than treating every vegetable identically, use your senses and keep records from season to season.
Check stored food regularly. Look for moisture inside containers, fading that seems unusually rapid, insect activity, broken seals, off odors, or softened pieces. If food smells musty, looks moldy, or shows signs of moisture damage, discard it. A full pantry is valuable, but a safe pantry is nonnegotiable.
Package in Portions You Will Actually Use
Each time a container is opened, the food inside is exposed to household humidity. So proper portioning is wise. Store frequently used vegetables in small jars and maintain your bulk supply in sealed backup packages.
For example, keep a pint jar of dried onions, peppers, and celery in the kitchen for soup-making, while storing the remainder in smaller vacuum-sealed or Mylar portions. This gives you everyday convenience without repeatedly exposing your entire harvest to air and moisture.
Dehydrated vegetables are one of the most practical ways to turn seasonal abundance into dependable meals. Dry them thoroughly, condition them patiently, package them with purpose, and store them where heat and humidity cannot undermine your work. Each properly labeled jar is more than a pantry ingredient – it is proof that your household is becoming more prepared, self-reliant, and well fed.
For more food preservation tips on dehydrating ingredients and recipes, be sure to check out my book, From Seed to Table. It also shares recipes and resources on how to cook with your dehydrated ingredients so you can make the most of your pantry!
About the Author:
Diane Devereaux, The Canning Diva®, is an internationally recognized food preservation expert, author, and educator with over 30 years of home canning experience. She’s the author of multiple top-selling canning books and teaches workshops across the U.S. Learn more at TheCanningDiva.com.